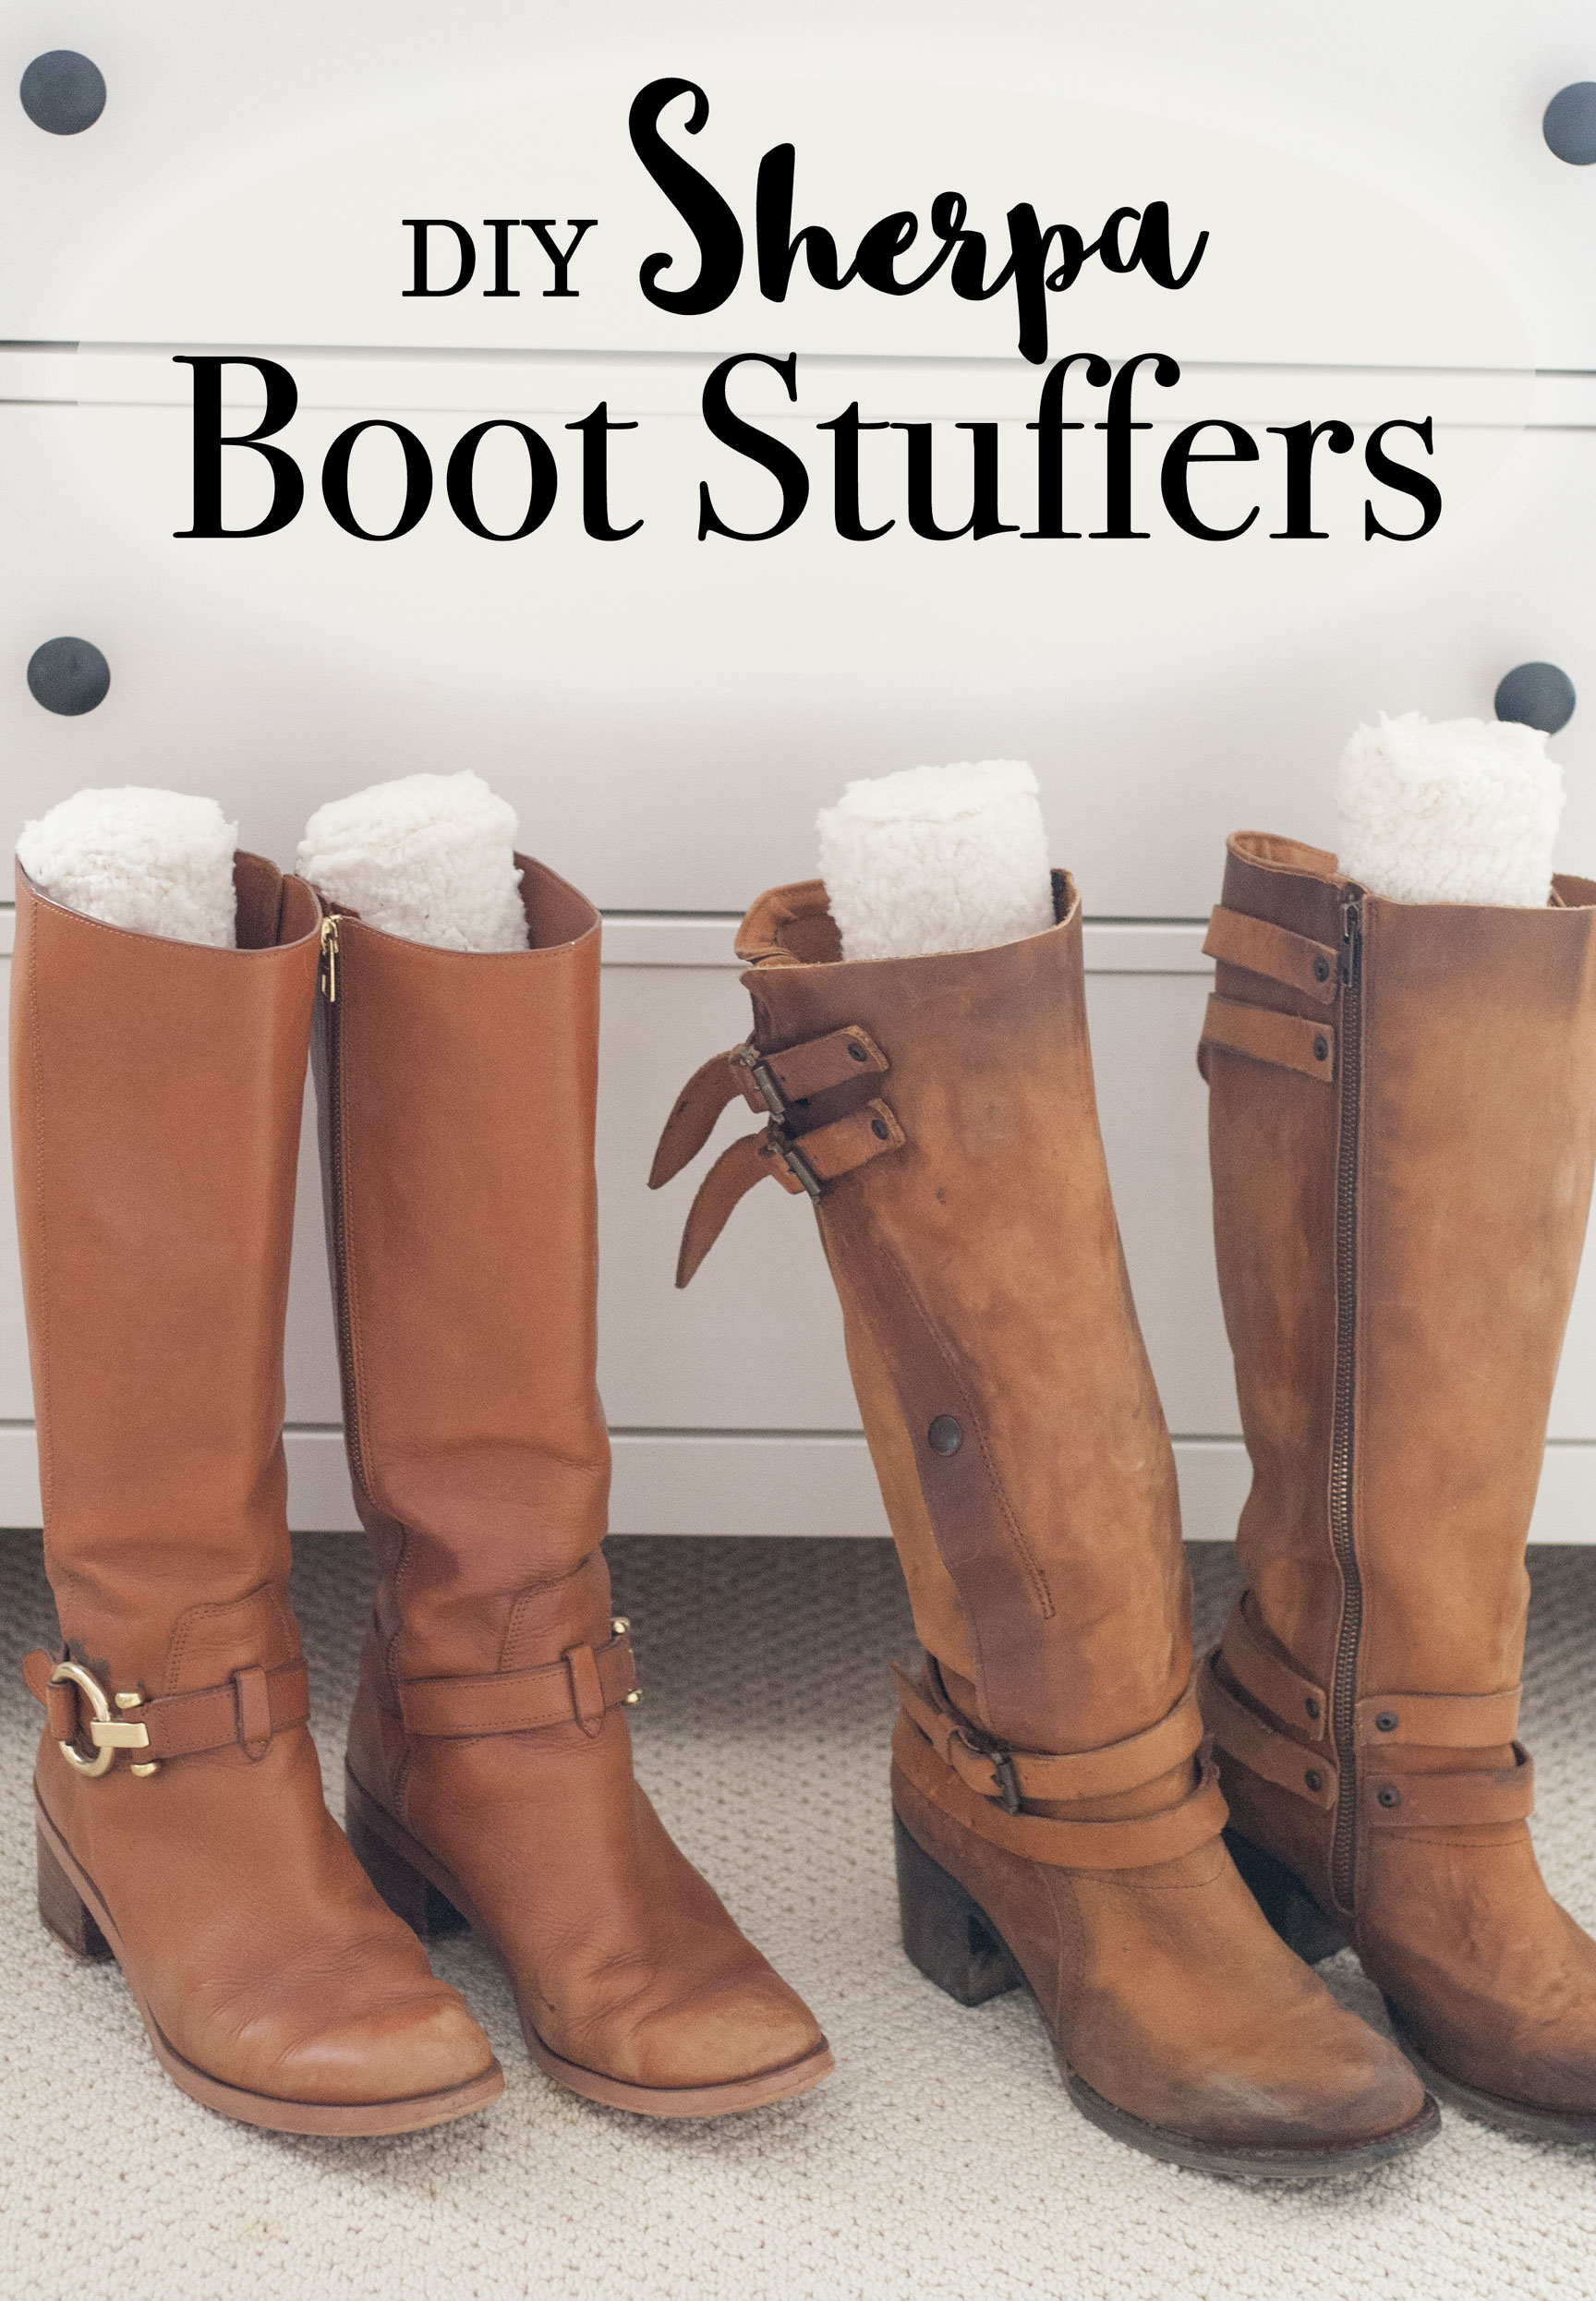
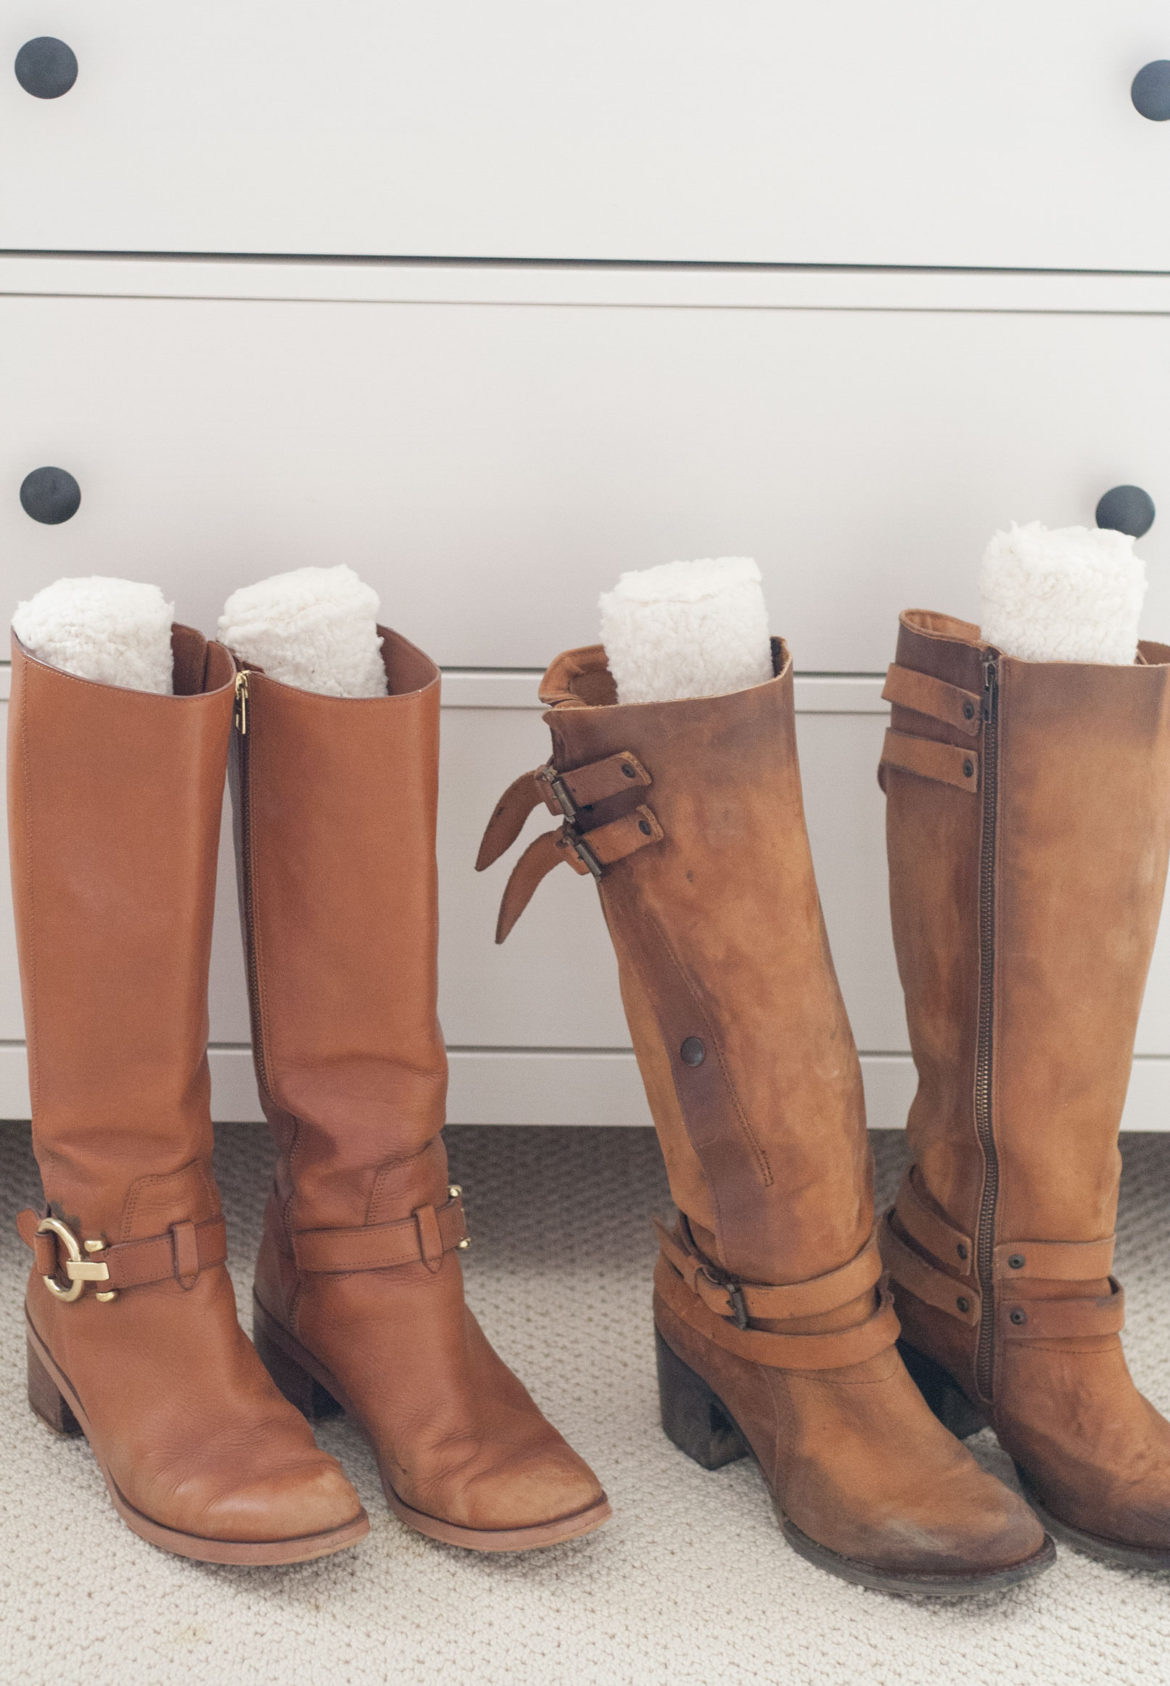
Tall boots are one of my very favorite accessories but as soon as I take them off they tip over and lay helplessly on the floor of my closet taking up way more space than they should. A while back I heard that wine bottles would keep them upright, but who wants their closet to look like the recycling bin? Not me, especially after I put so much effort into decluttering my closet, KonMari style.
This clever DIY Boot Stuffer project gussies up super affordable foam pool noodles, covering them in cozy cream Sherpa for some serious hygee vibes. Let’s get started!
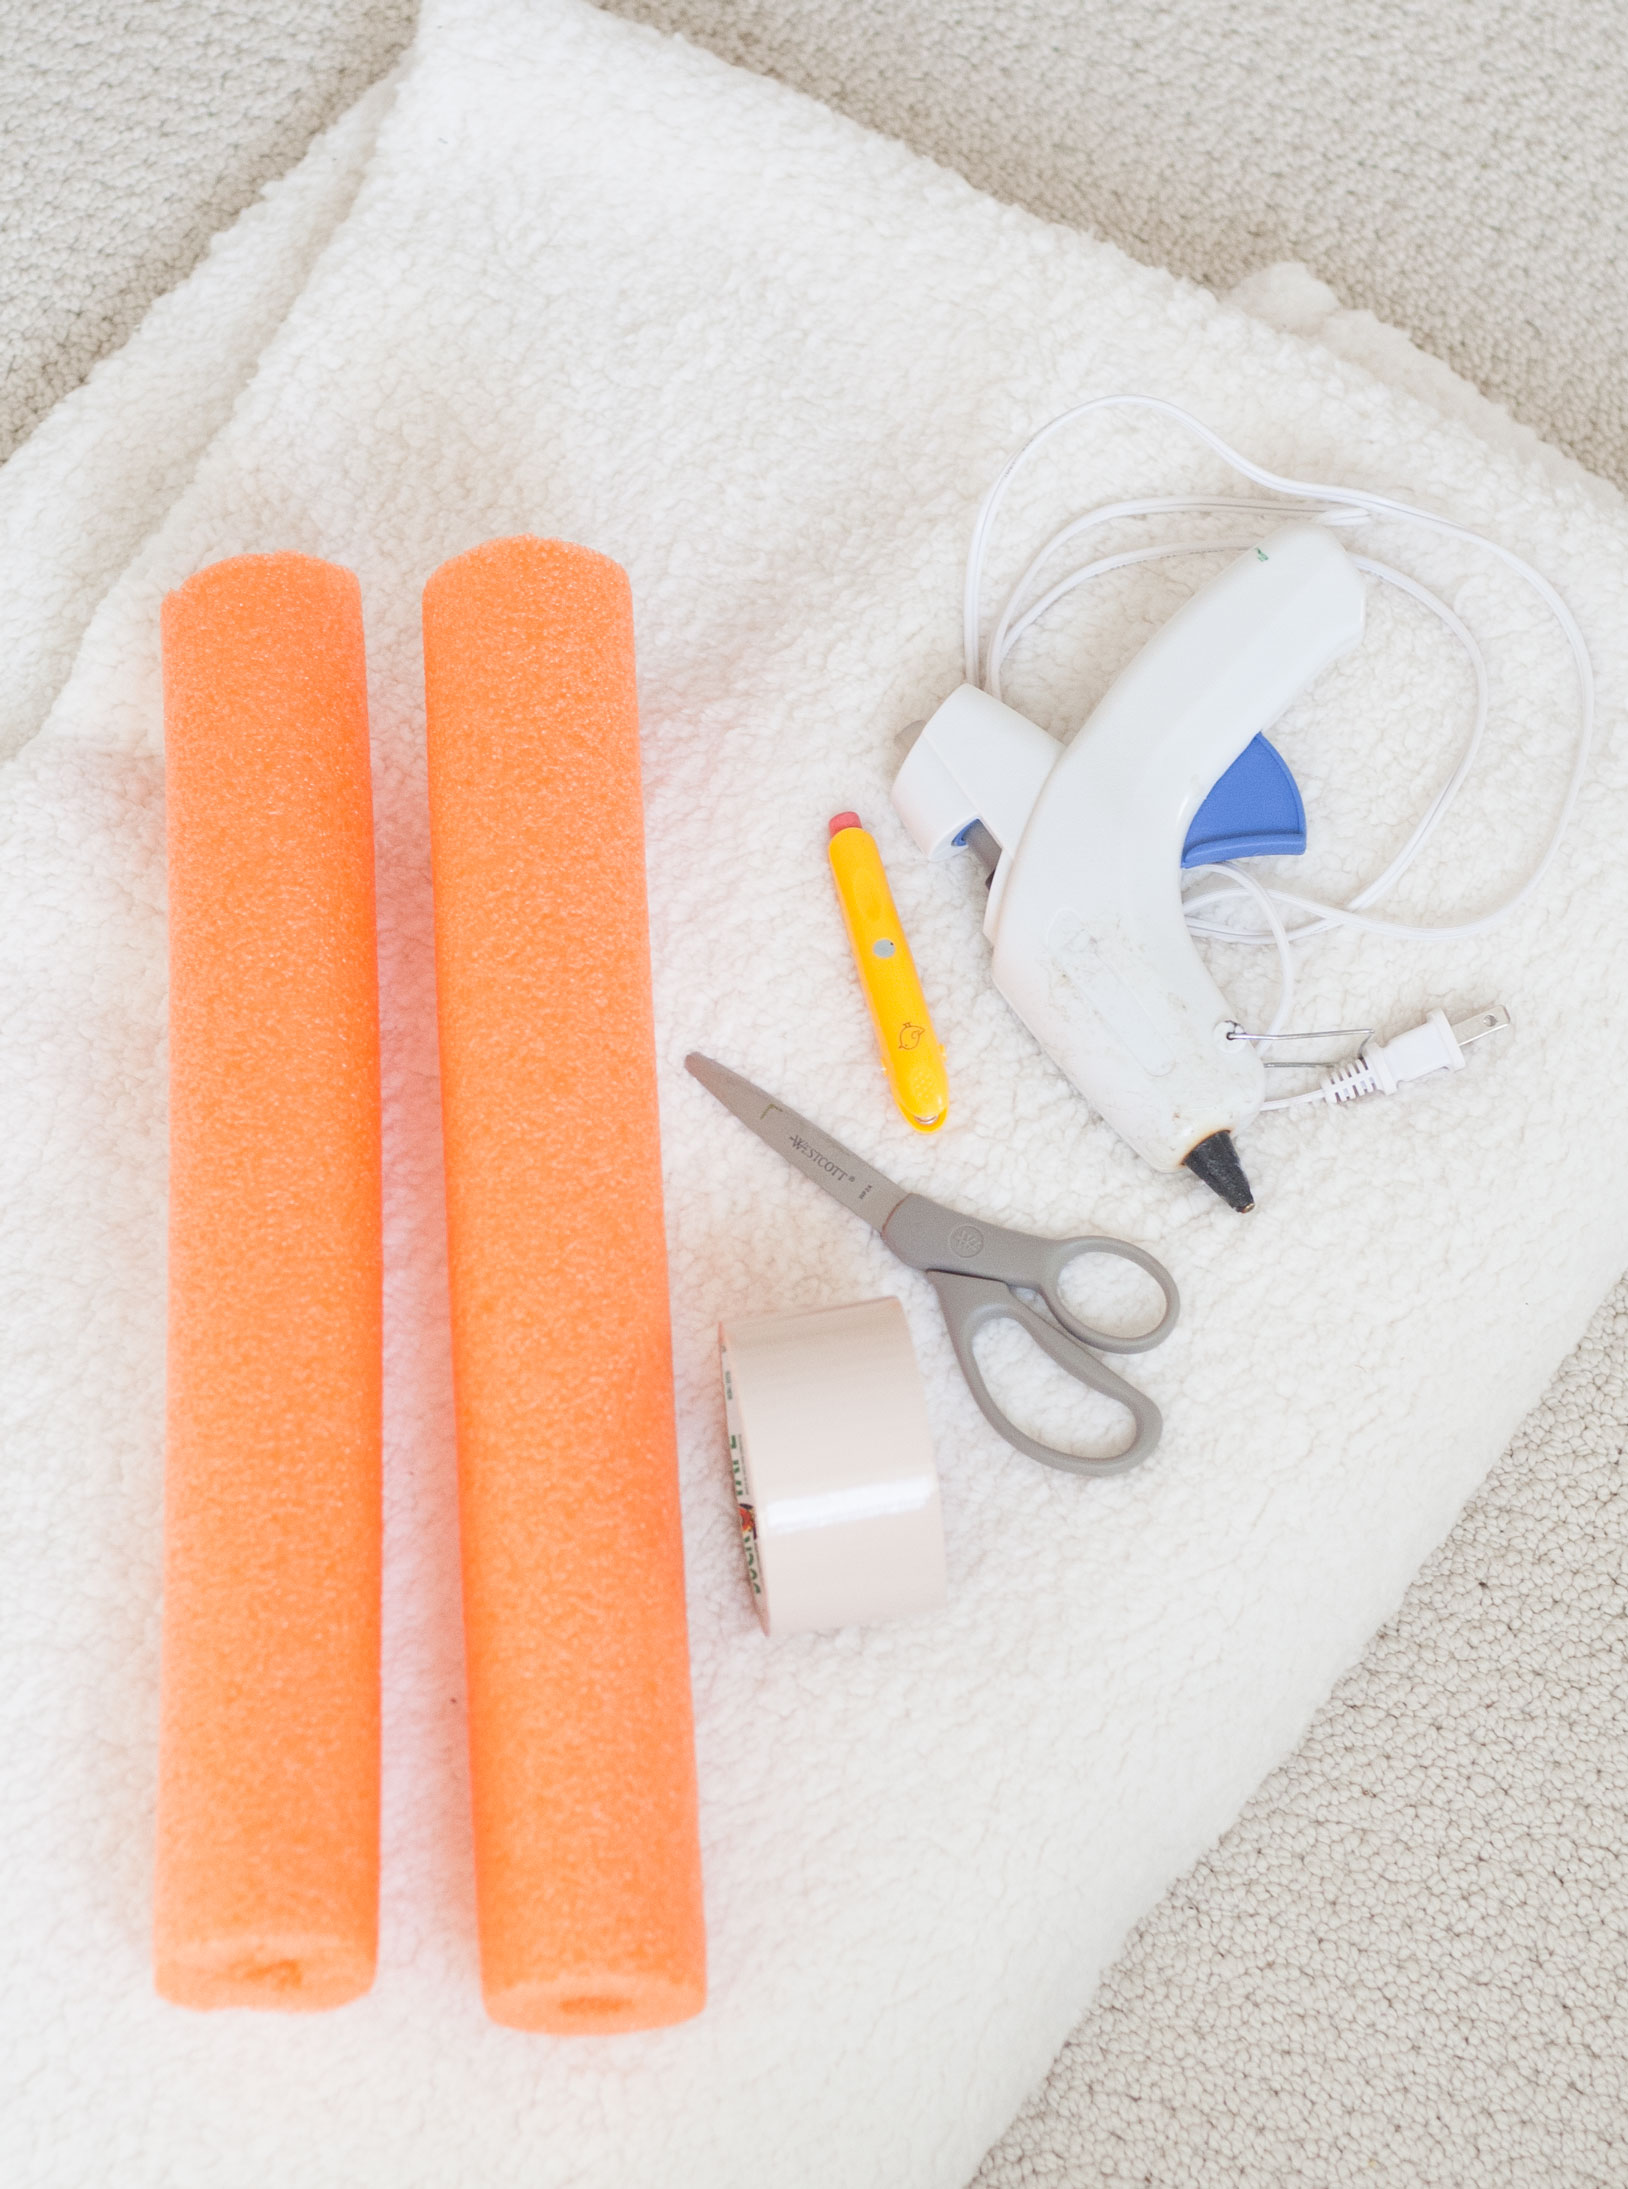
SUPPLIES FOR ONE PAIR
FOAM POOL NOODLE -1
WHITE OR TAN DUCT TAPE
CREAM SHERPA FABRIC – 3/8 YARD
GOOD SCISSORS
HOT GLUE GUN + HOT GLUE STICKS
COLORED CHALK
DIRECTIONS
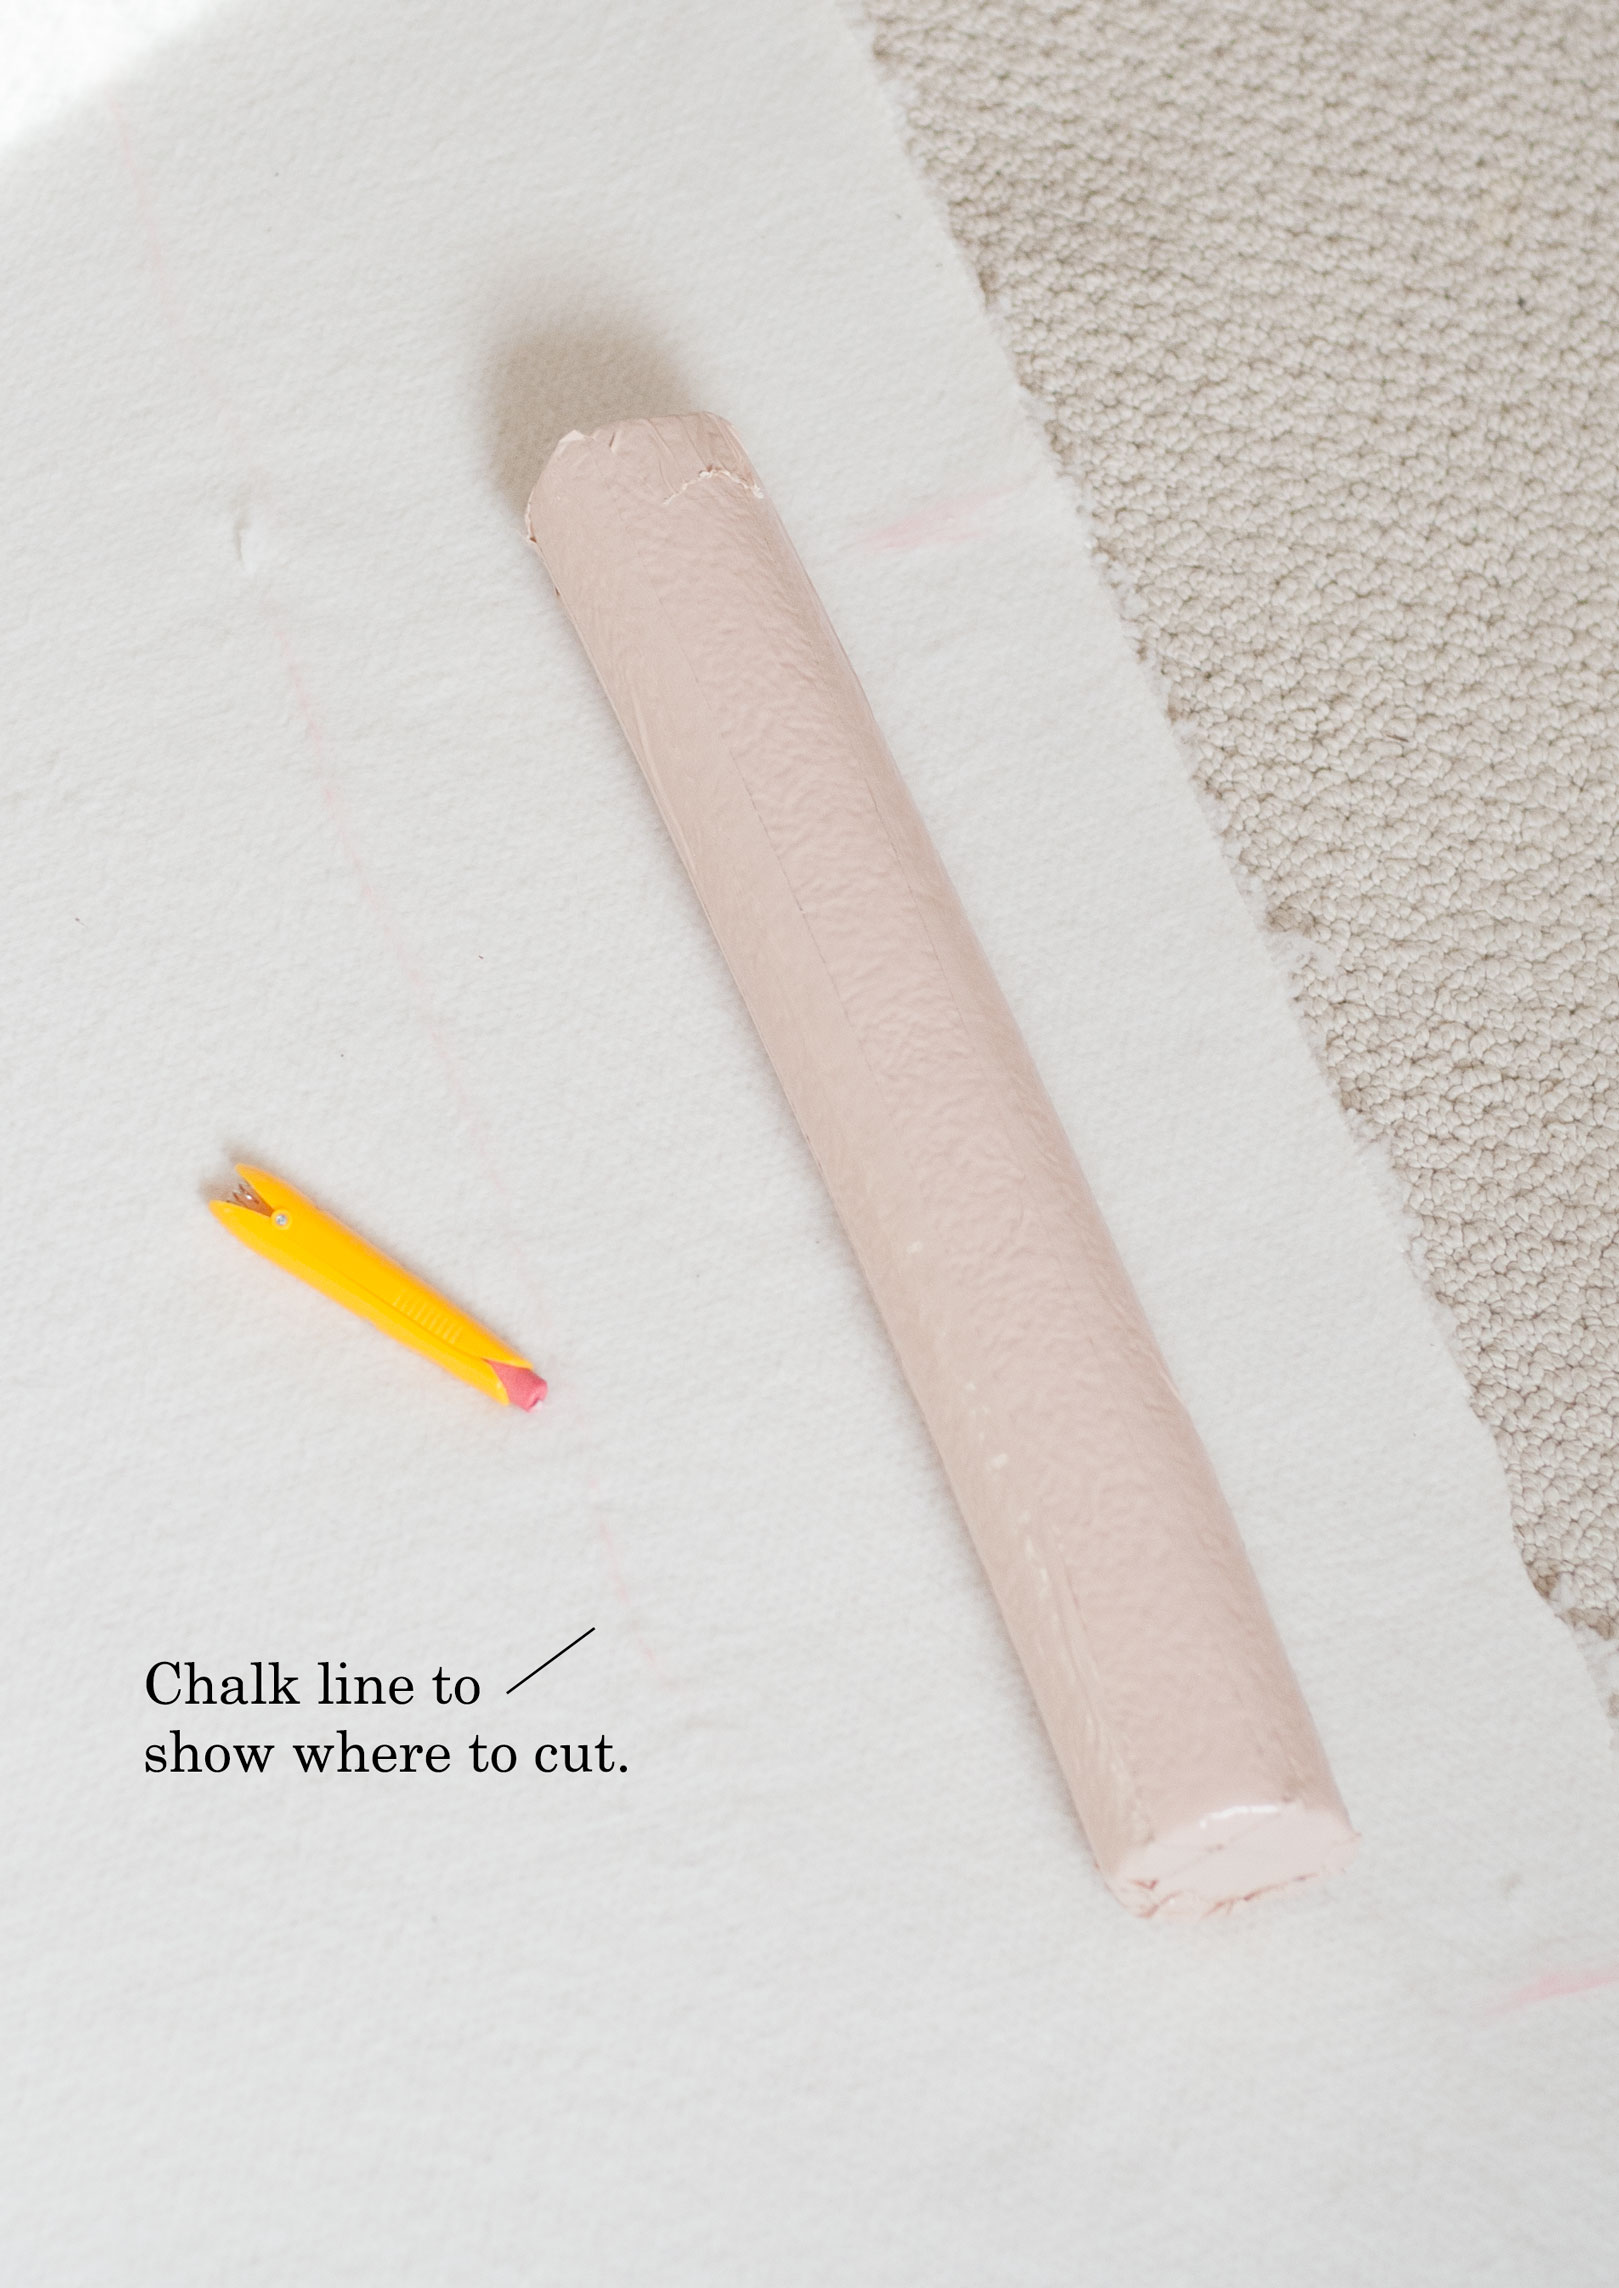
- Stuff full length pool noodle into one of the boots and with chalk mark on the noodle about one inch above the top of the boot.
- Cut the noodle along the chalk line with scissors or a knife. Set the cut portion against the remaining noodle and use the chalk to mark where to cut off the excess so the two noodle halves are even.
- To help conceal the neon color of the pool noodle, cover the foam noodles in duct tape. Don’t forget the tops!
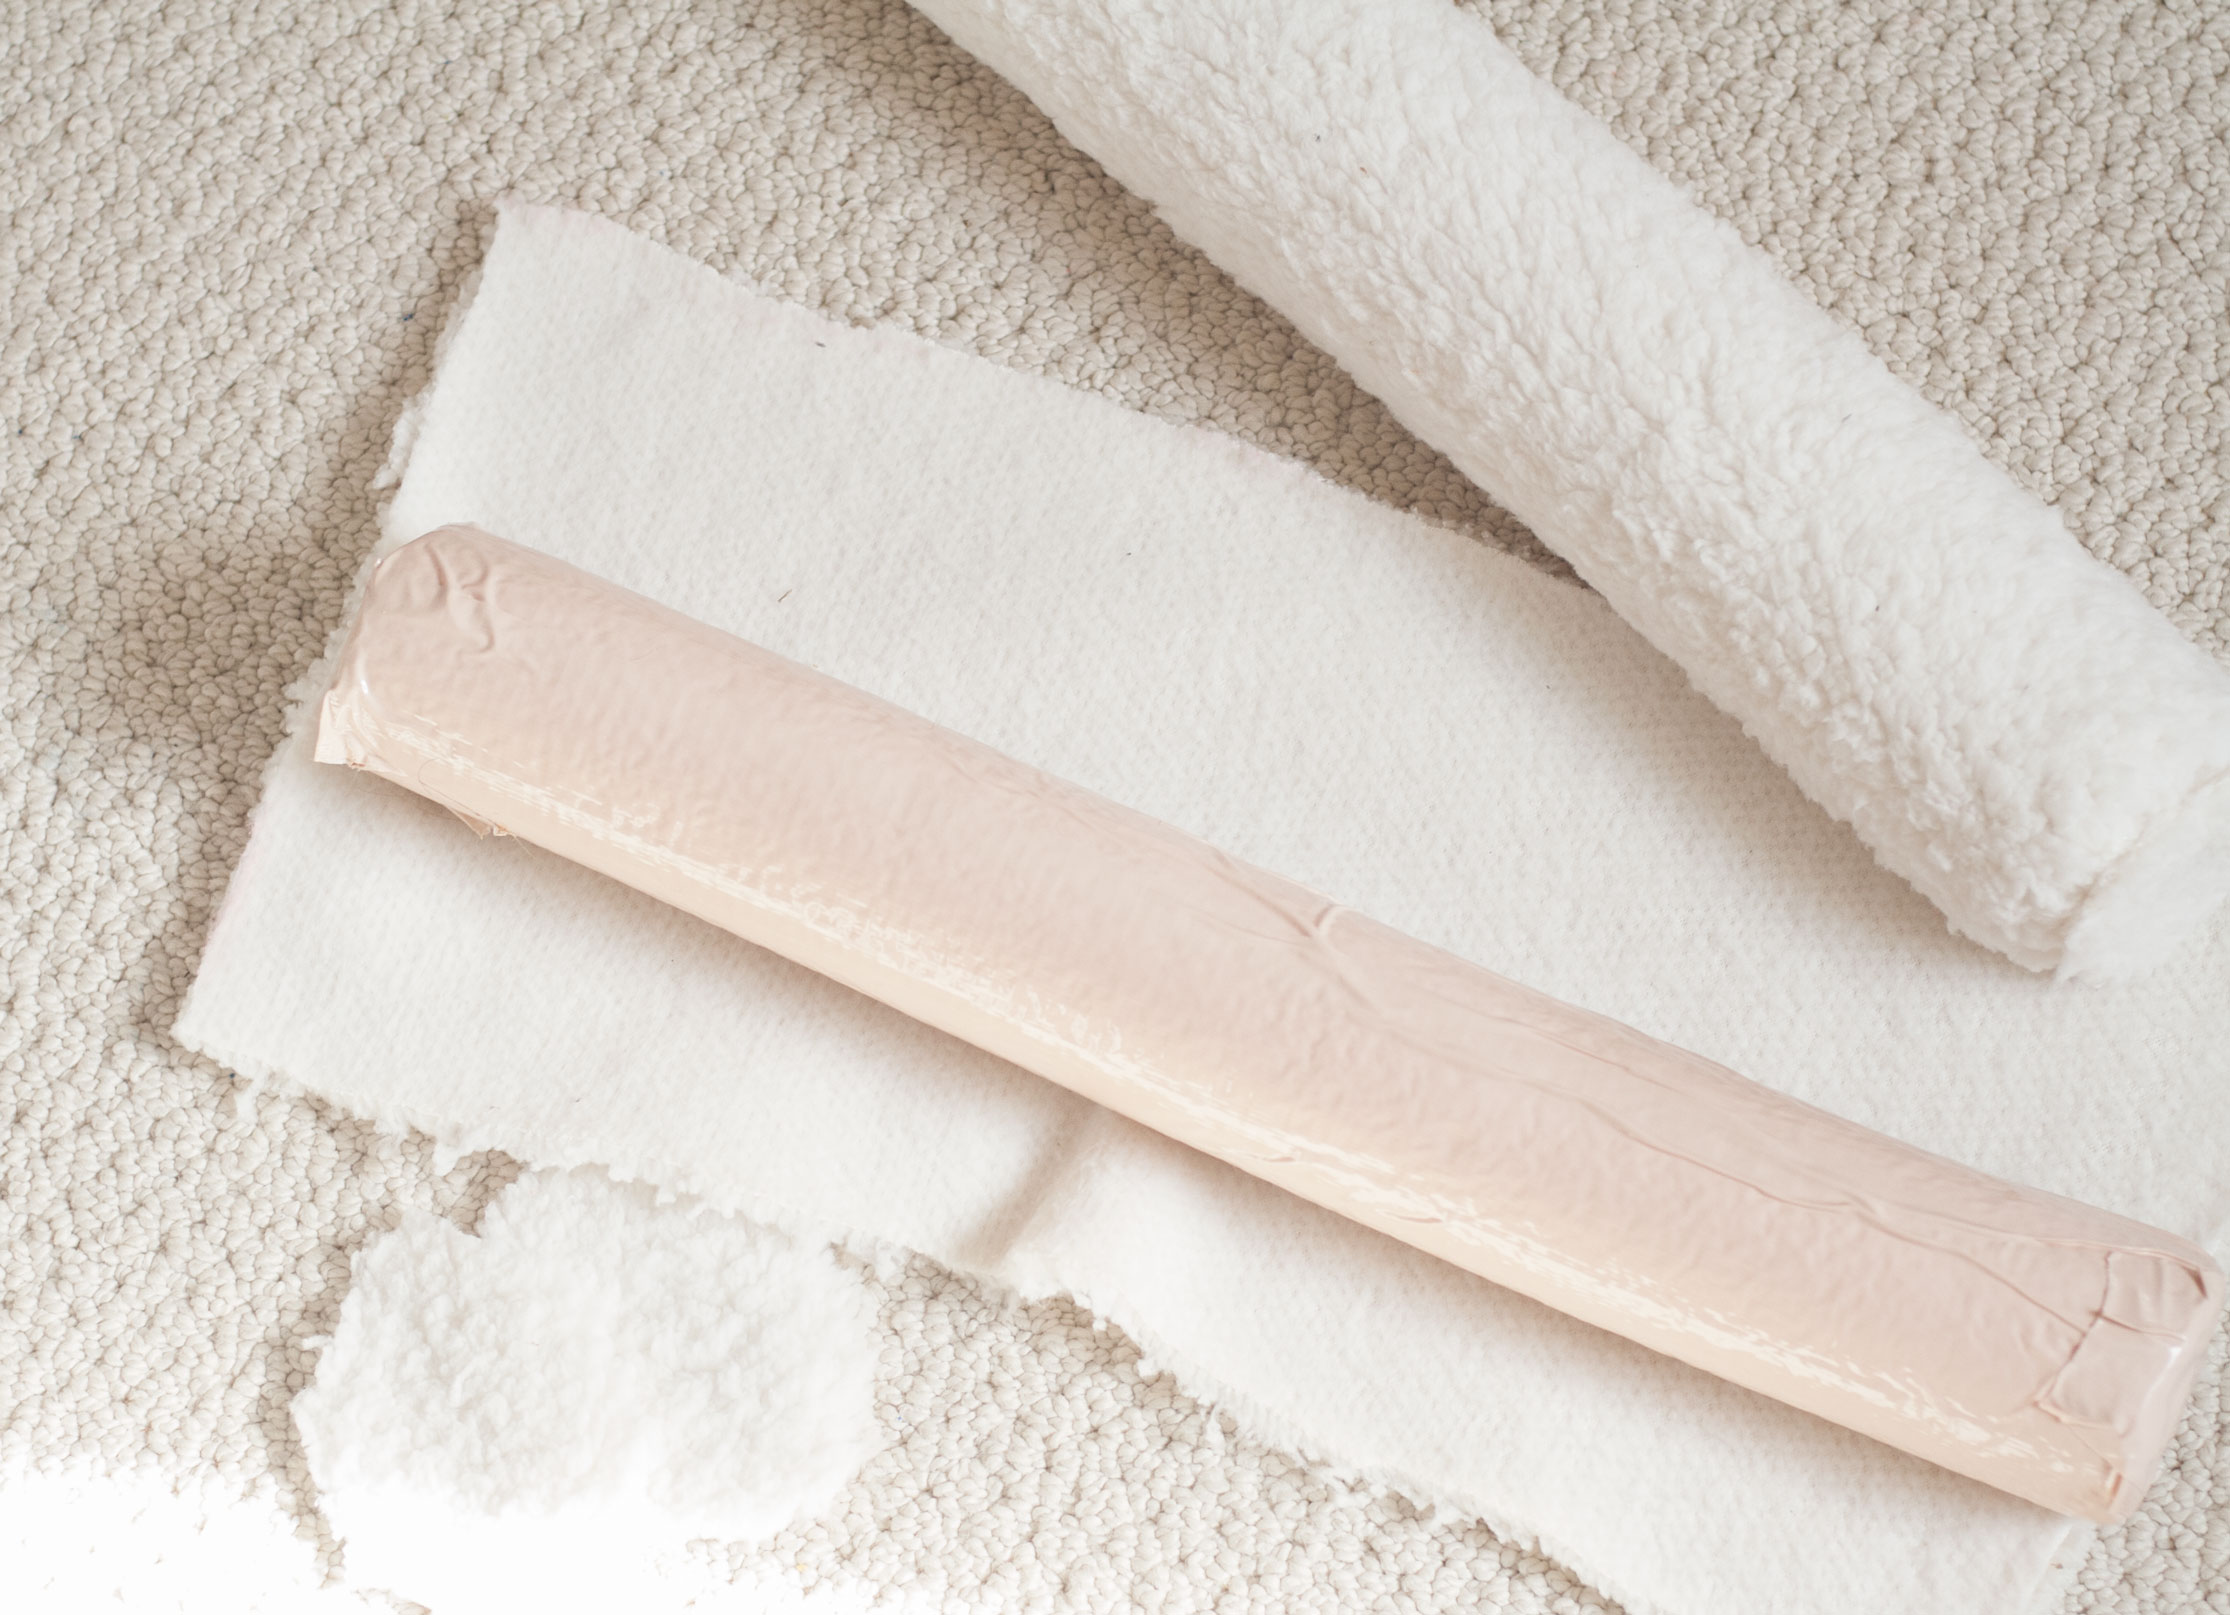
- Next, lay out your Sherpa, fuzzy side down. Lay one of the cut noodles vertically on top of the Sherpa at the bottom corner with the edge lined up with the edge of the fabric. Mark the Sherpa with chalk where the top of the noodle is to guide where you will cut the fabric. (Don’t cut yet!)
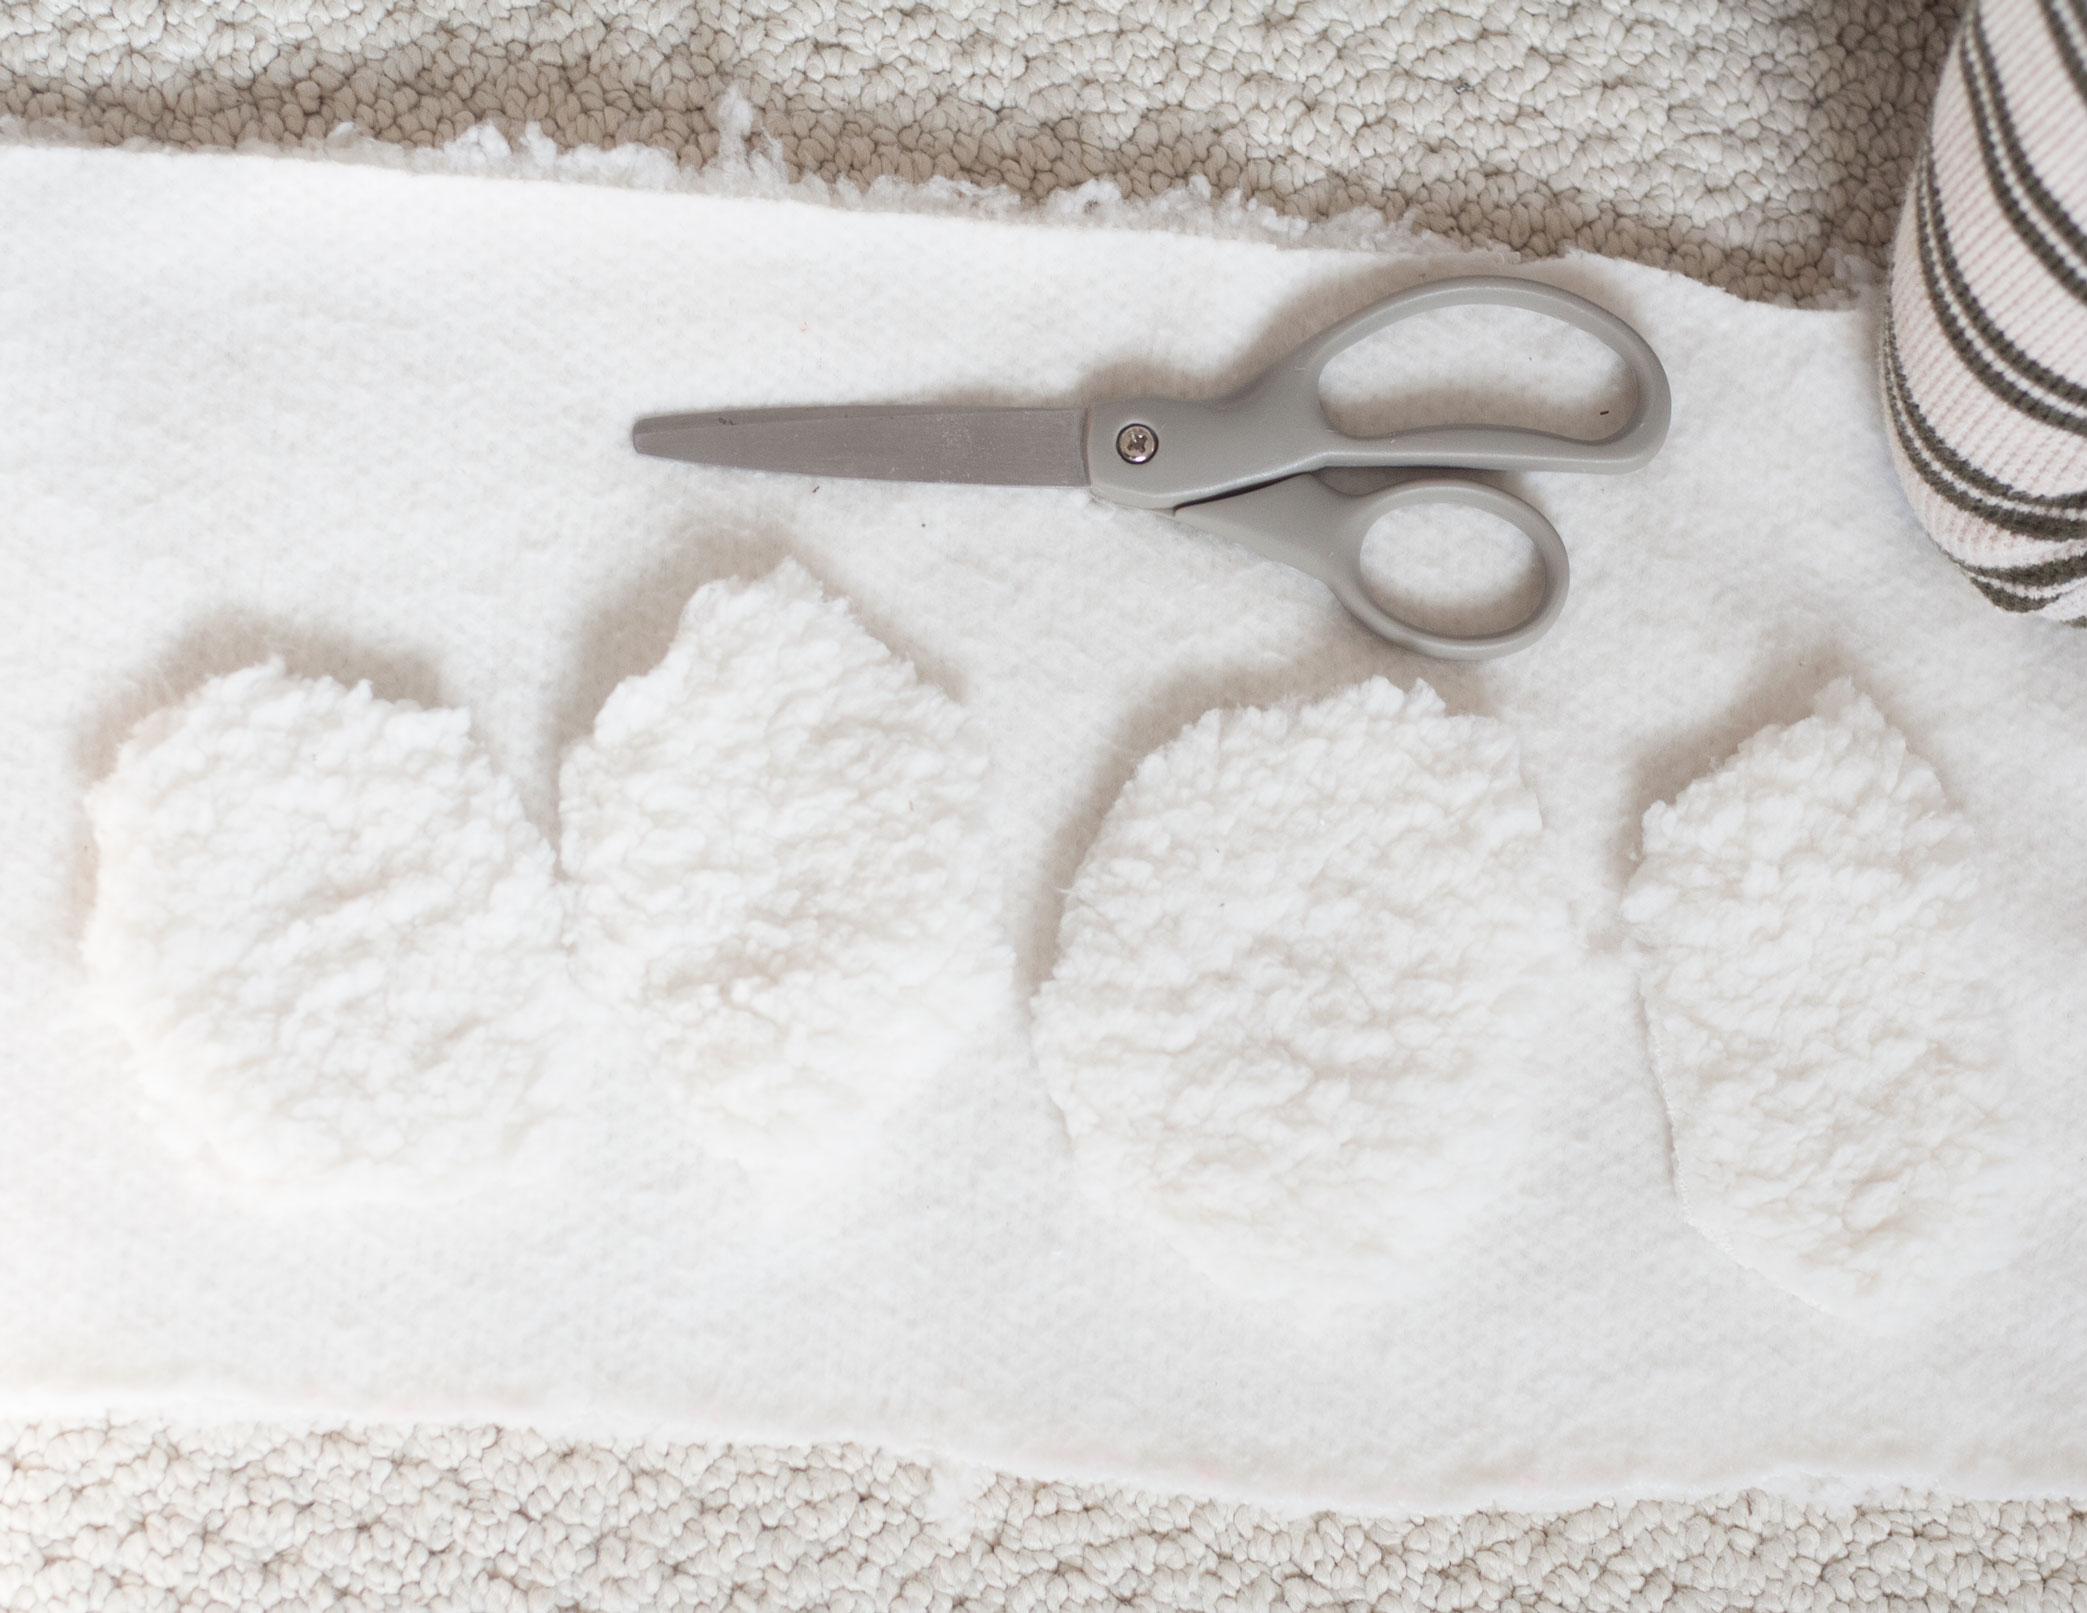
- Now, hold the edge of the Sherpa on the pool noodle and roll slightly, until the entire noodle is wrapped in the fabric. Again, use chalk to mark on the fabric where to cut.
- Cut out the patch of Sherpa, and use that patch as a stencil to cut out the next patch.
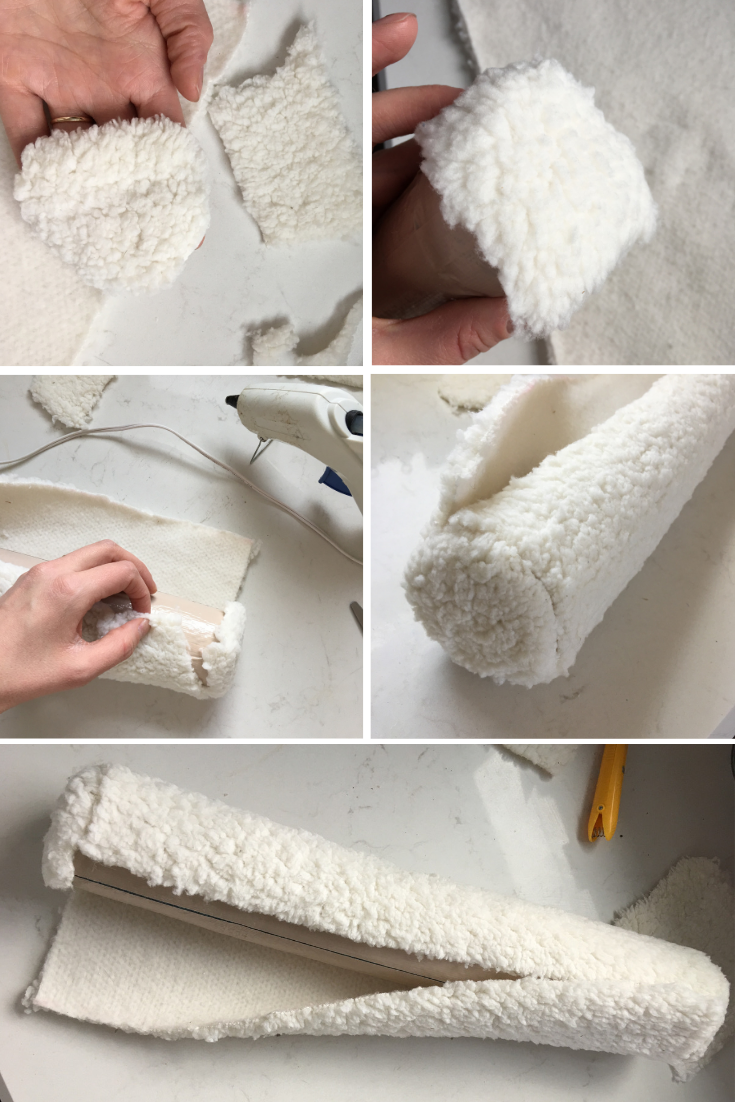
- With remaining fabric, cut out two squares that are the width of the top of the noodle. These will cover the top. From the small squares you just cut, cut off the corners ever so slightly, so that you are left with more of a circle shape.
- Using a hot glue gun, glue around the rim of the noodle at the top. Quickly lay one of the small circles of Sherpa on top and pat to adhere. Do this on the bottom side too.
- Next, lay one of the big pieces of Sherpa out and glue along the edge of one of the shorter sides. Immediately wrap that fabric edge along the top edge of the noodle overlapping the previously glued scrap on top.
- With a hot glue gun, squeeze out glue along one of the long edges of the fabric and adhere that edge to the pool noodle, as straight as you can.
- Now, glue along the remaining short edge of the Sherpa and wrap that around the bottom of the noodle, overlapping the previously glued on fabric on top.
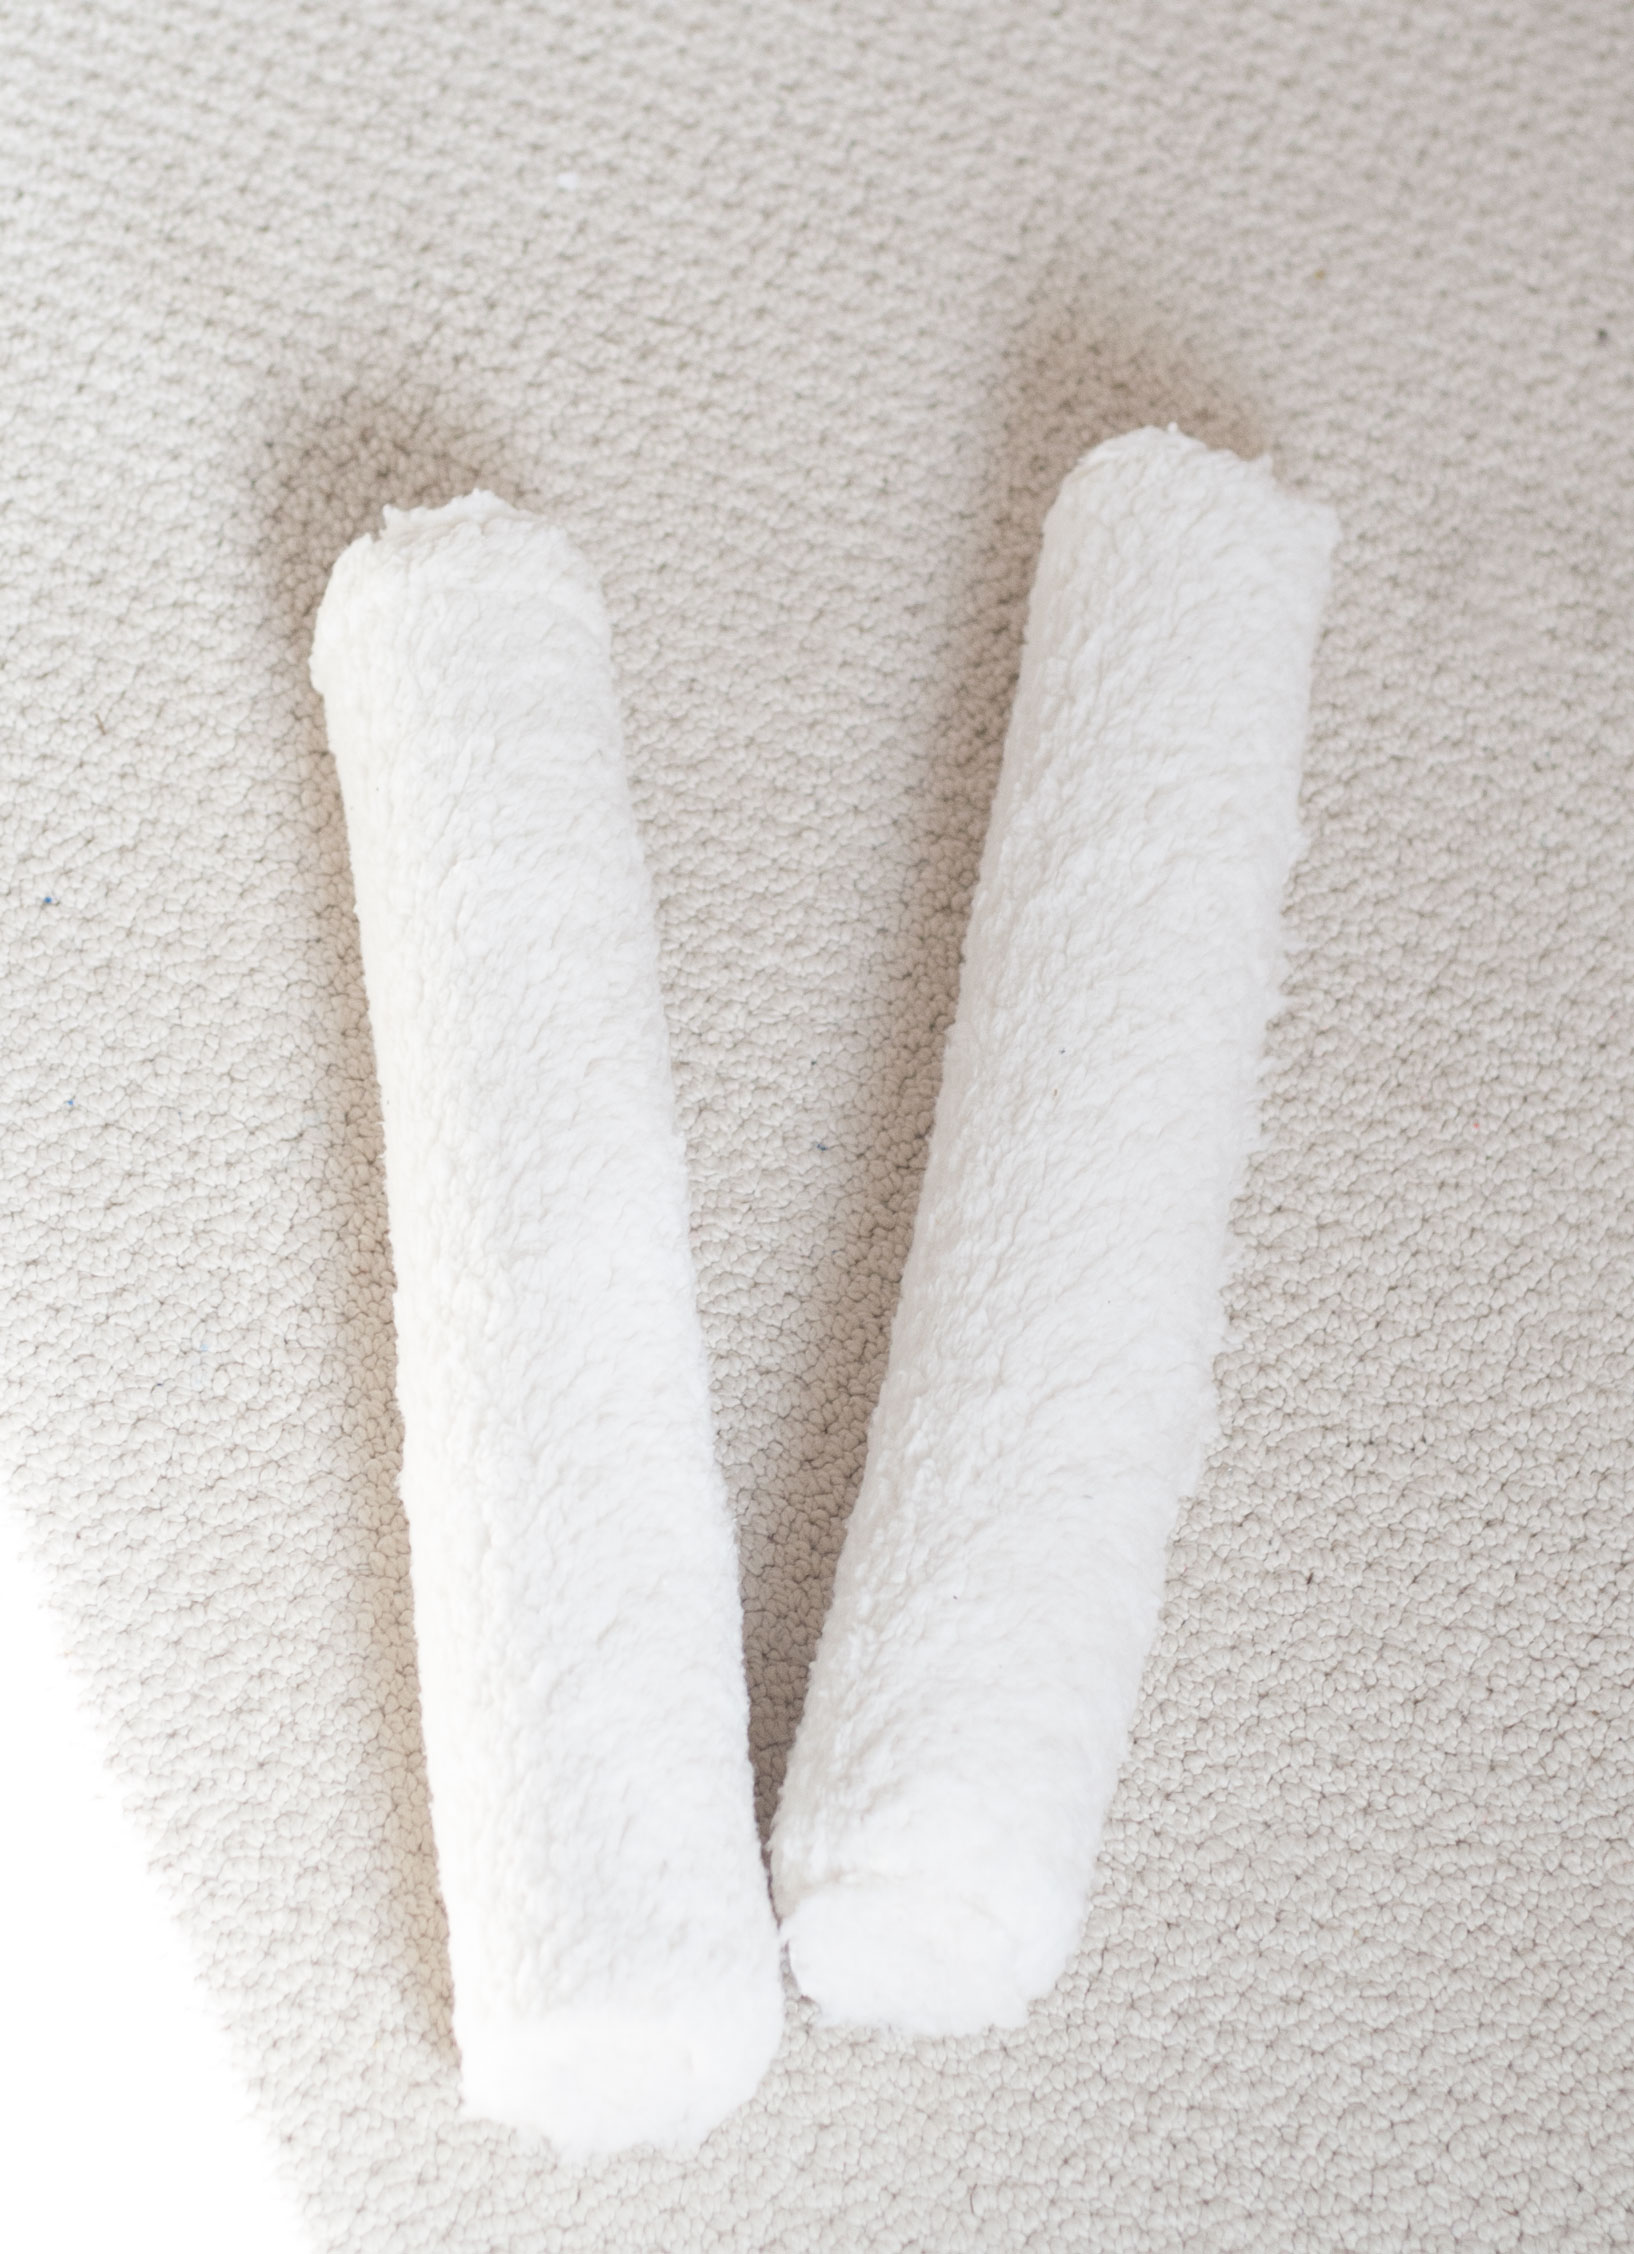
- Finally, lay down a line of hot glue along the edge of what remains of the exposed pool noodle and quickly pat down the remaining edge of Sherpa.
- If there is a lot of excess, carefully trim it away and use glue to hold the edge down.
The long hairs of the Sherpa fabric are very forgiving and you can barely notice the seams down the back of them.
I am absolutely over the moon about how cute these boot stuffers turned out. The cream-colored, warm and fuzzy Sherpa looks great paired with my leather boots, like they were meant to be together!
