I’ve come across many frightening news stories in my day, but few were as startling as a recent (and when I say recent, I use that term very loosely…) recall of a well-known brand of sippy cups due to total mold infestation. These cups, like most sippy cups, had tons of nooks and crannies for moisture and bacteria to collect in and do their thing. Parents were outraged as one-by-one they took their own cups apart to discover that they too had been serving their children cups with black mold just chilling in the non-spill valve.
If you too have a healthy fear of mold, follow these cleaning steps to just avoid that mess altogether.
- Clean those used cups as soon as you can! Don’t leave them to linger, creating curdled milk or fermented juice, which happens astoundingly fast in the petri-dish-like conditions of these basically airtight cups. If you don’t have time to fully clean, at least disassemble and rinse with water before neglecting it by your sink. I do this more than I care to admit.
- Completely disassemble the cup before cleaning, detaching any valves, stoppers, straws, weights, lids, etc. This can be super annoying with some items, but don’t skip this step!!
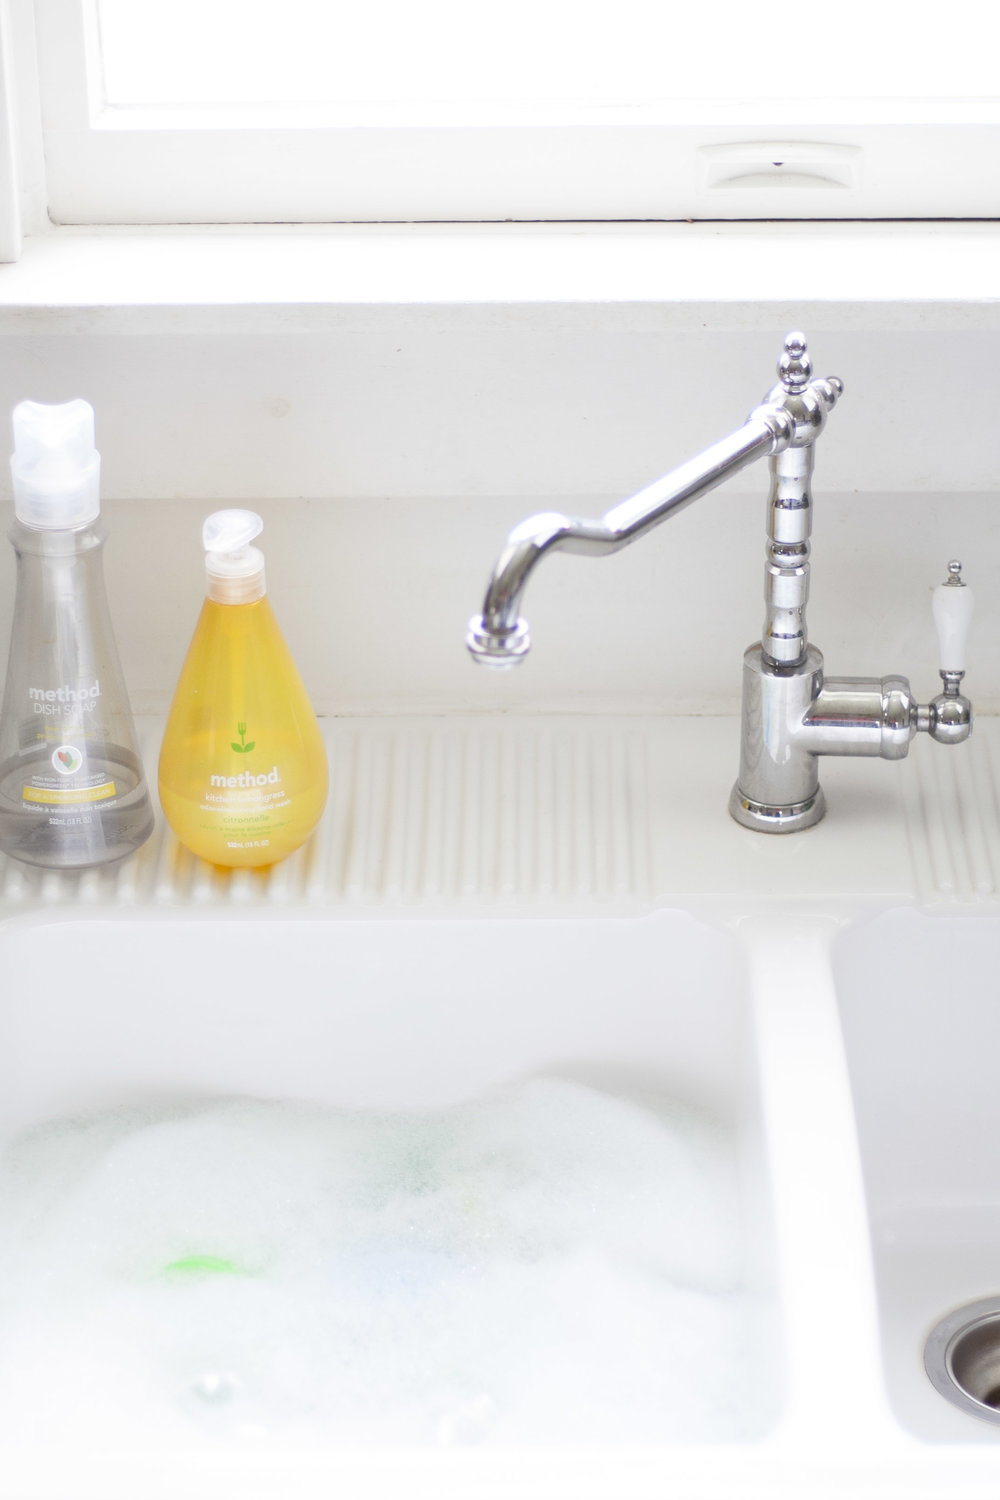
3. Soak in hot, soapy water. I like method dish soap or similar non-toxic options like dapple in case any residue remains after washing.
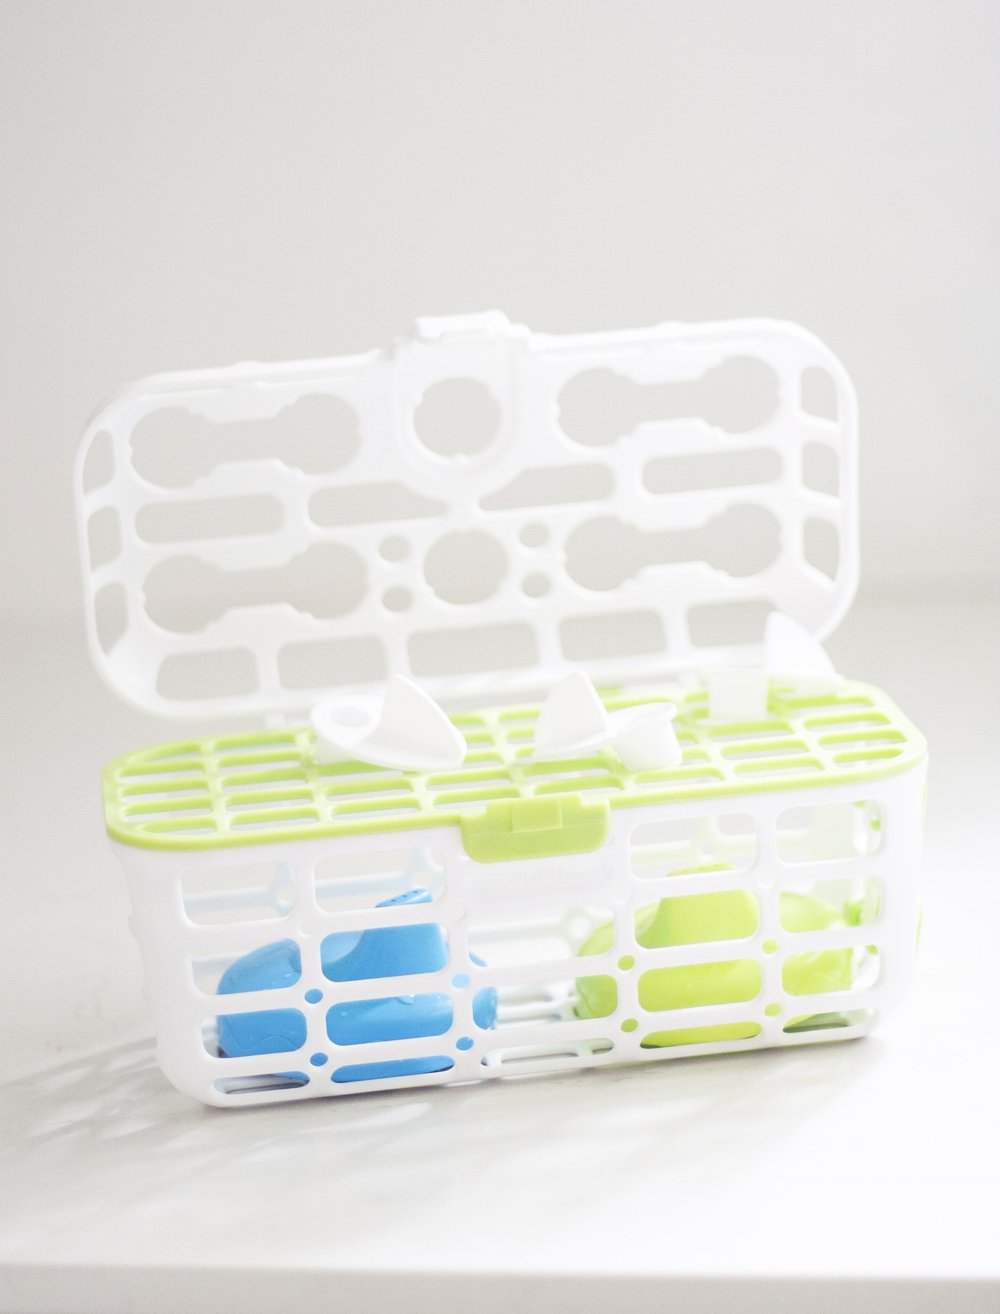
Alternatively, you can stick most sippy cups and parts in your dishwasher. Just put all of those little tiny bits in one of these dishwasher baskets. I don’t do this with the straw cups though because I am totally obsessive about cleaning out the silicone straws.
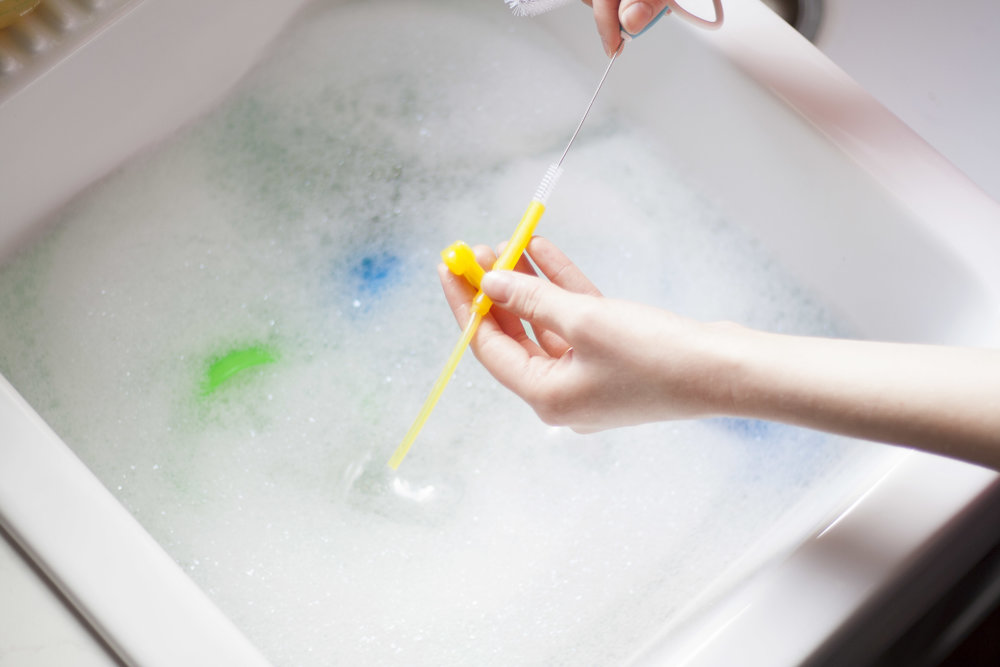
4. Clean the cup base with a bottle brush or sponge. Use small brushes to get into all of the crevices and into the spout or straw of the cup. I love this set by OXO. Don’t forget the weight on the weighted straw cups! Any crevice that looks like it could collect moisture needs to be cleared out, because (guess what?!) it will collect moisture -be it milk, juice, spit or water- and it will get slimy.
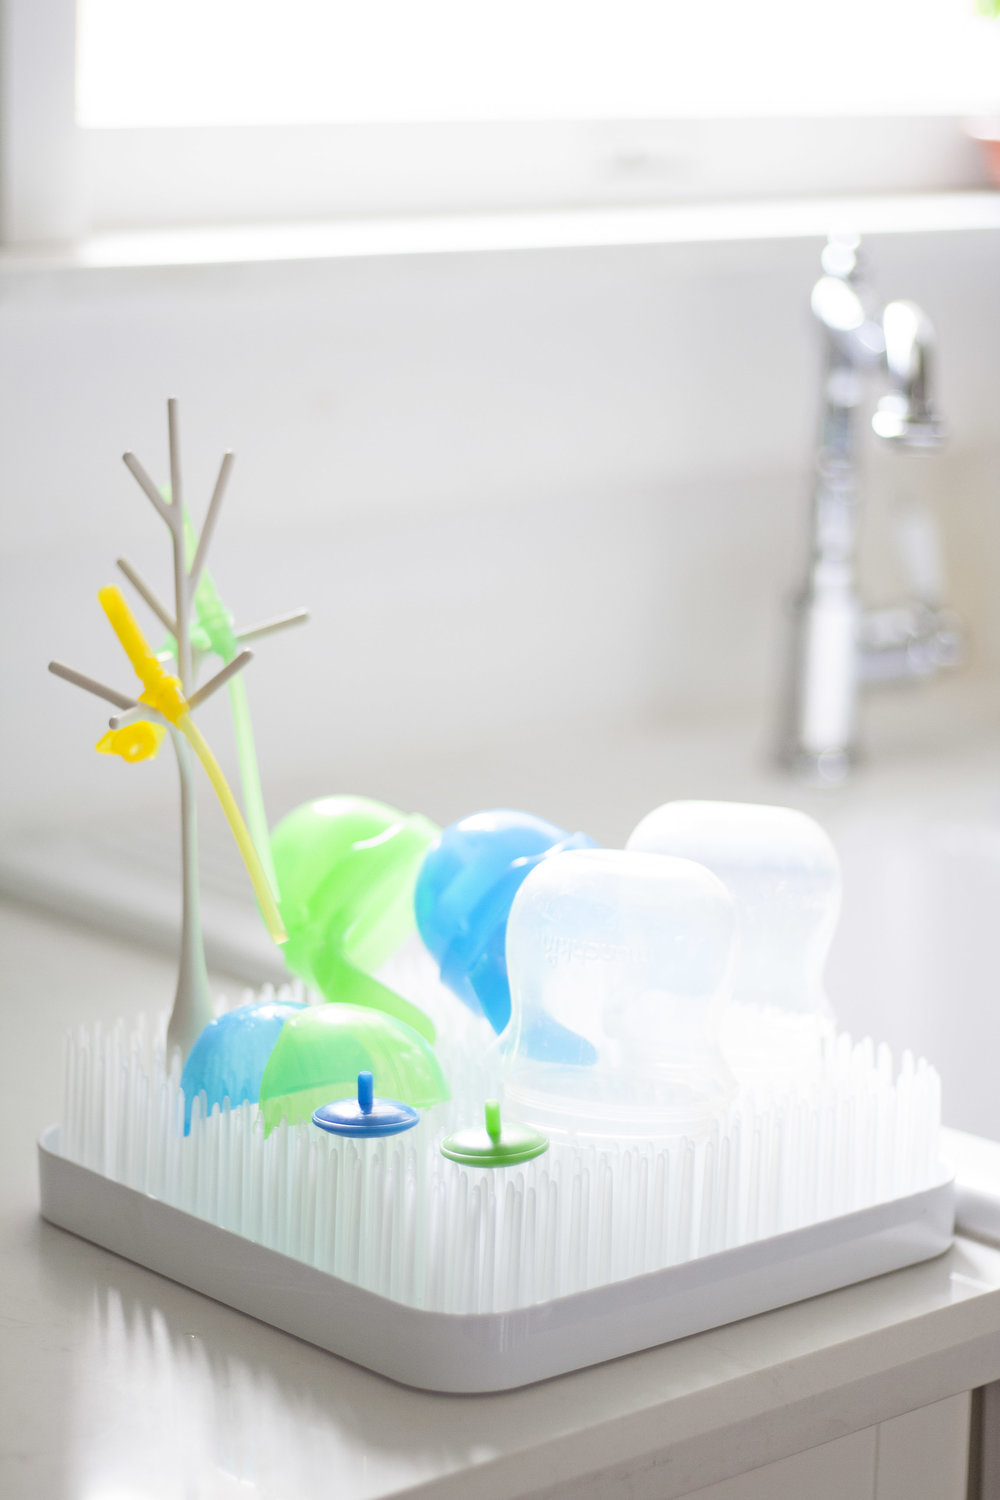
5. Rinse with clean water and set out to dry completely. I use my Boon Grass to dry our sippy cups on because all of the little parts would just fall through the grid of our normal dish rack.

6. Do not reassemble cups until completely dry, unless you are going to use immediately. Mold has been shown to collect in all sorts of sippy cups because parents neglect to dry the parts completely before storage.
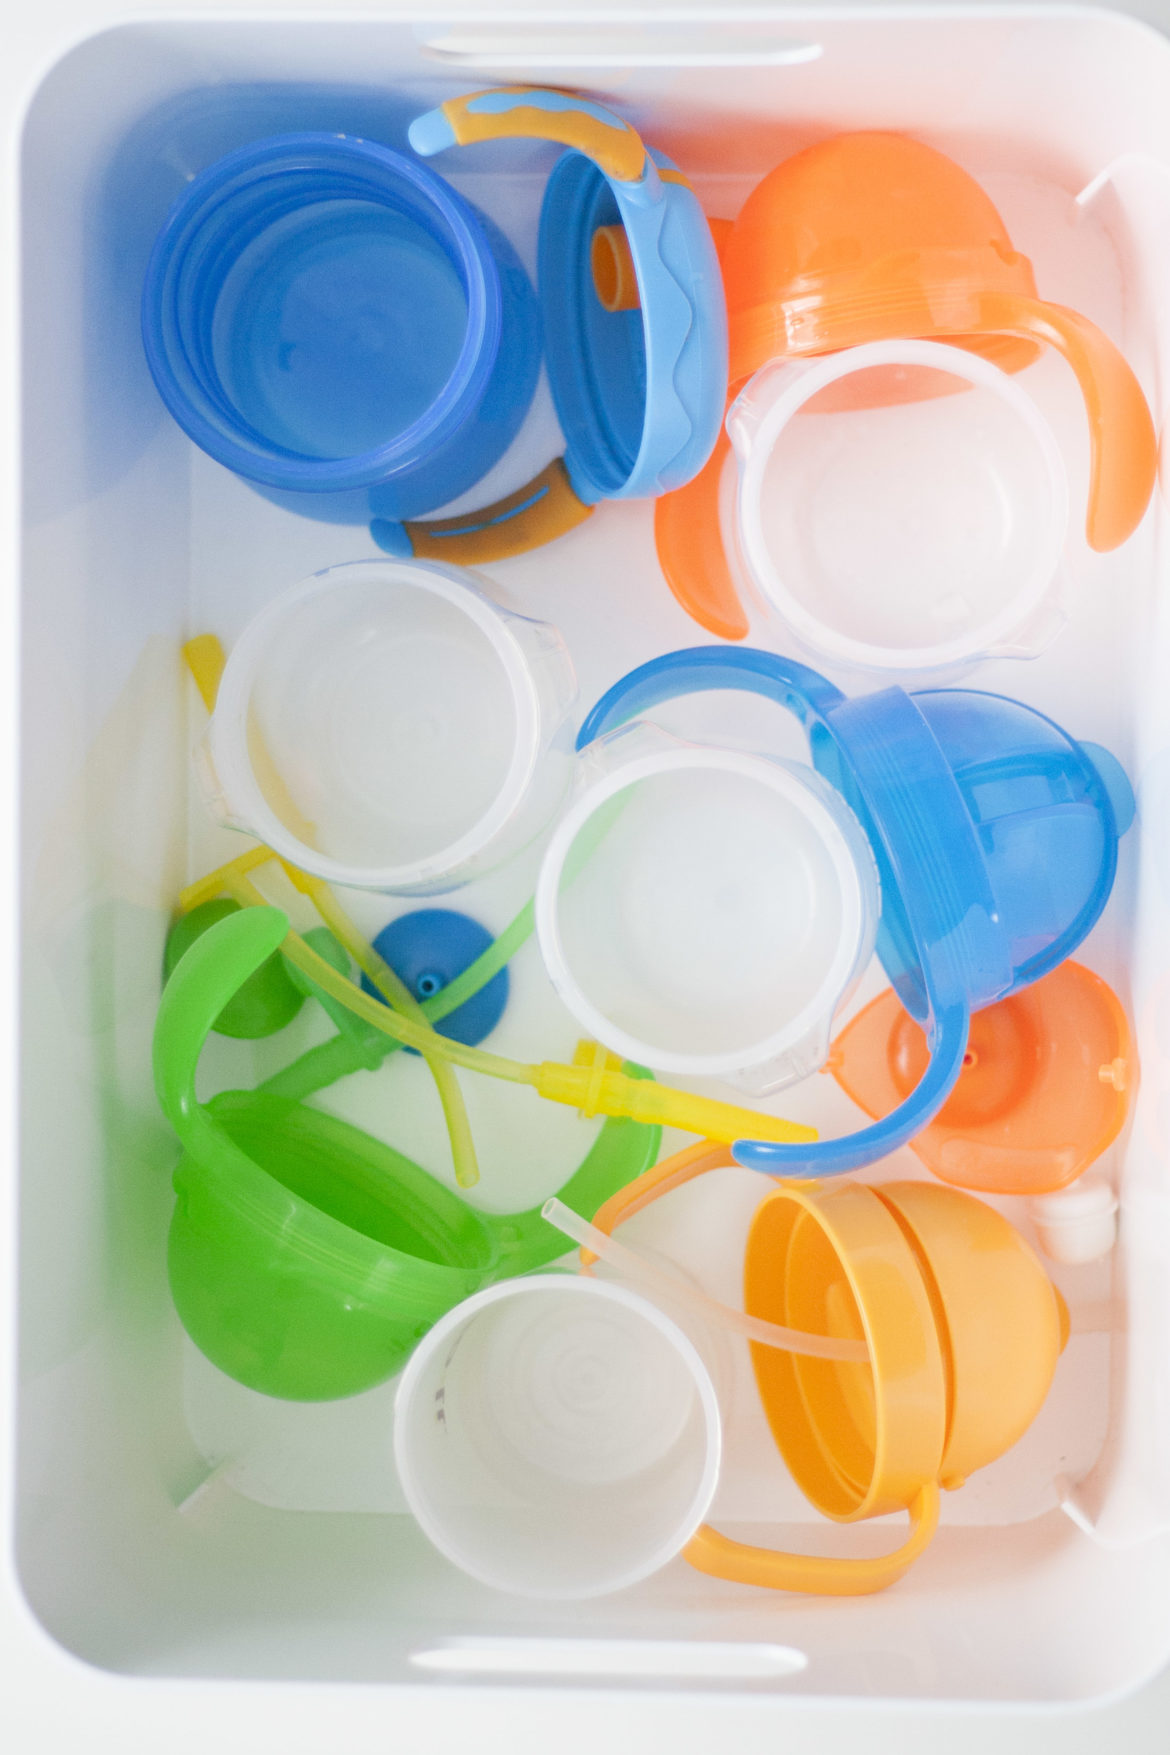
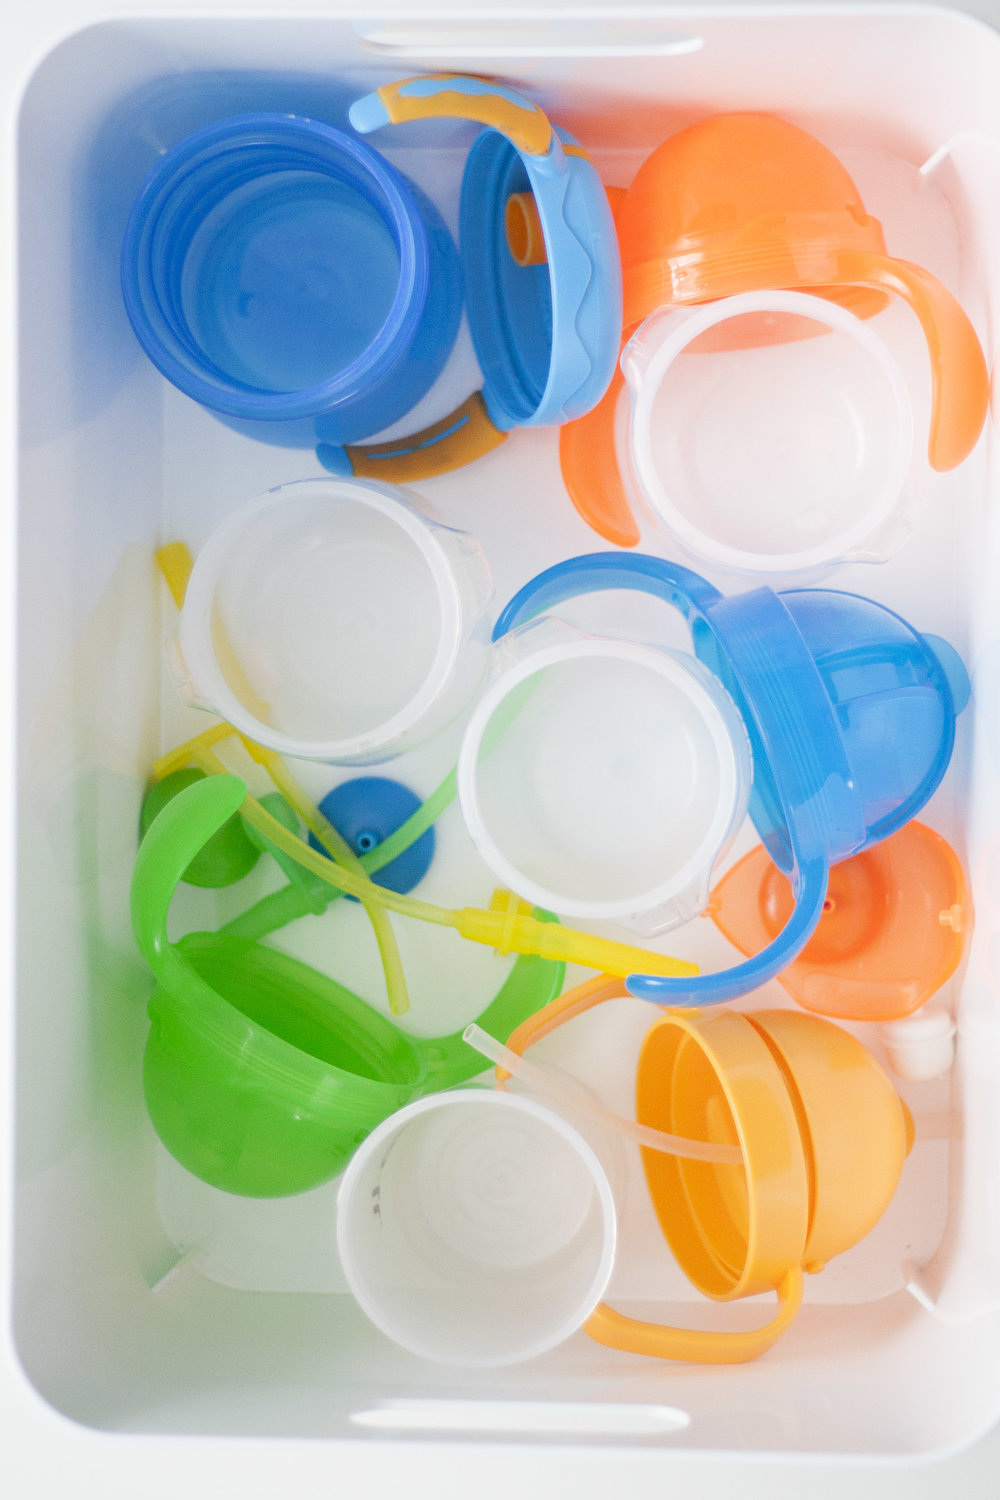
To be extra careful, you can store all the cup parts separated in a box like this Variera one from IKEA and then assemble just before use.
7. Periodically examine your little one’s sippy cups for damage such as bite marks and replace the parts in question or the whole cup if necessary. Many companies sell replacement straws and valves for just a few bucks.
BONUS TIP: Look for the simplest designs when you set out to buy cups, avoiding any model with super-complex valves or lids with parts you cannot get to with a brush.

