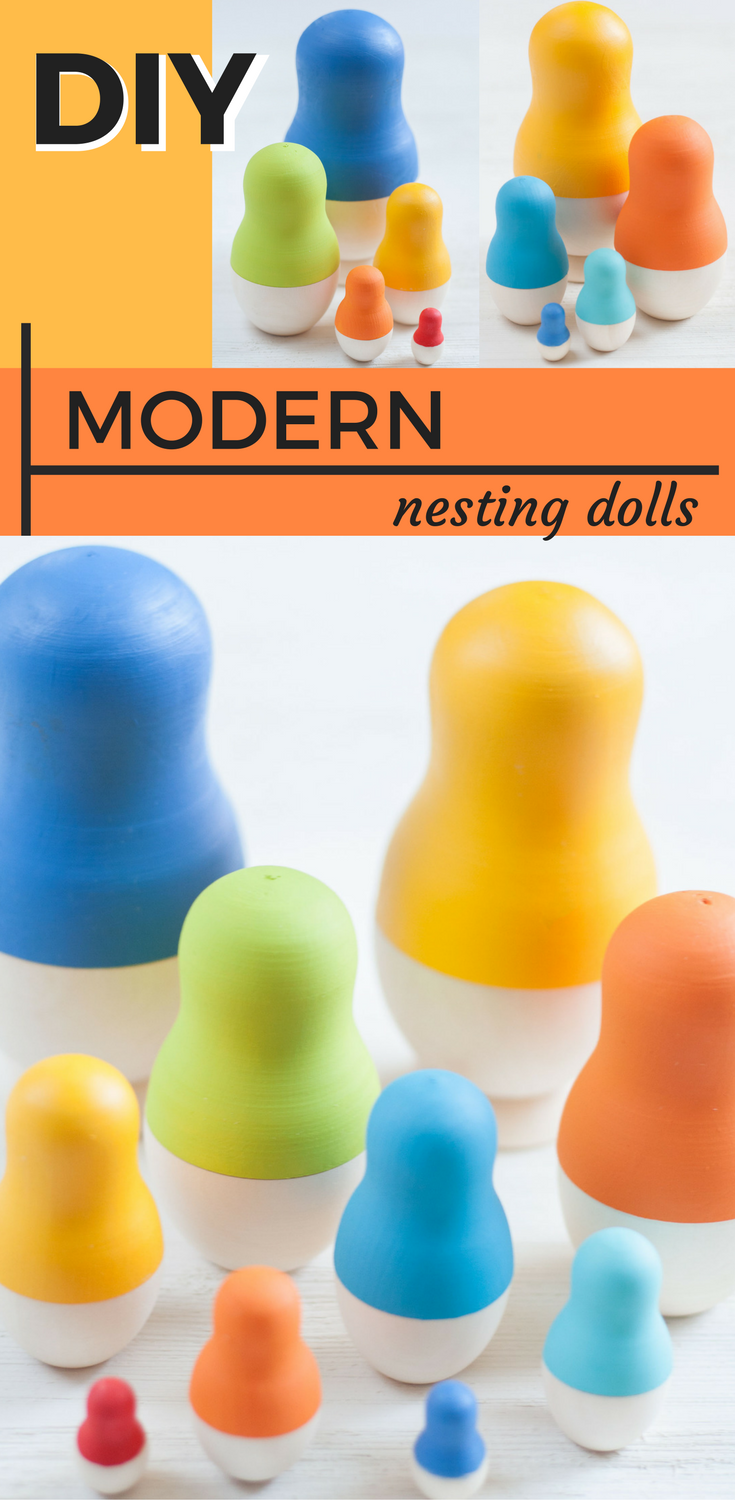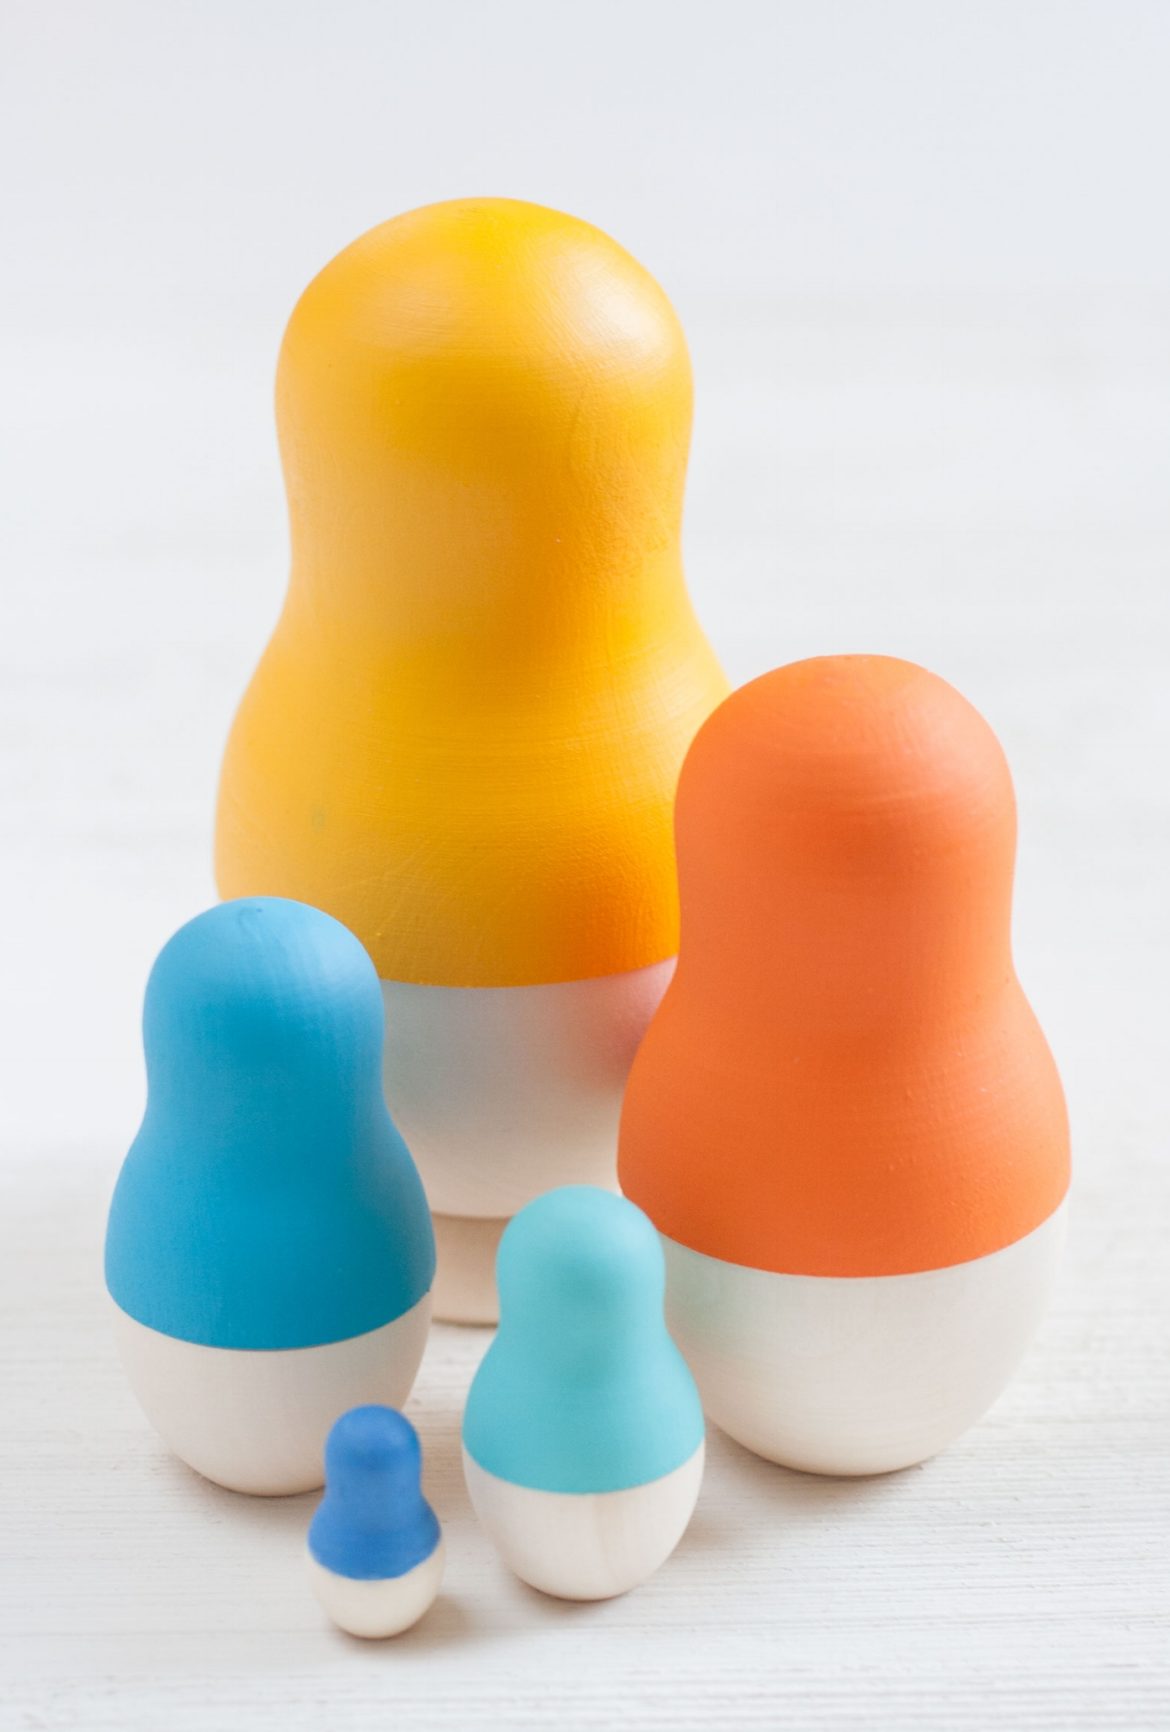
I’m totally obsessed with these fun, colorful wooden nesting dolls I made last week. Not only are they a fun learning tool for my toddler, but they double as modern ‘art’ for my bookshelf.

I originally saw the idea on one of my favorite DIY blogs. Sugar & Cloth, and knew that this would be the perfect project to share on Bit & Bauble: fun, colorful, modern and appealing to kids and adults alike!
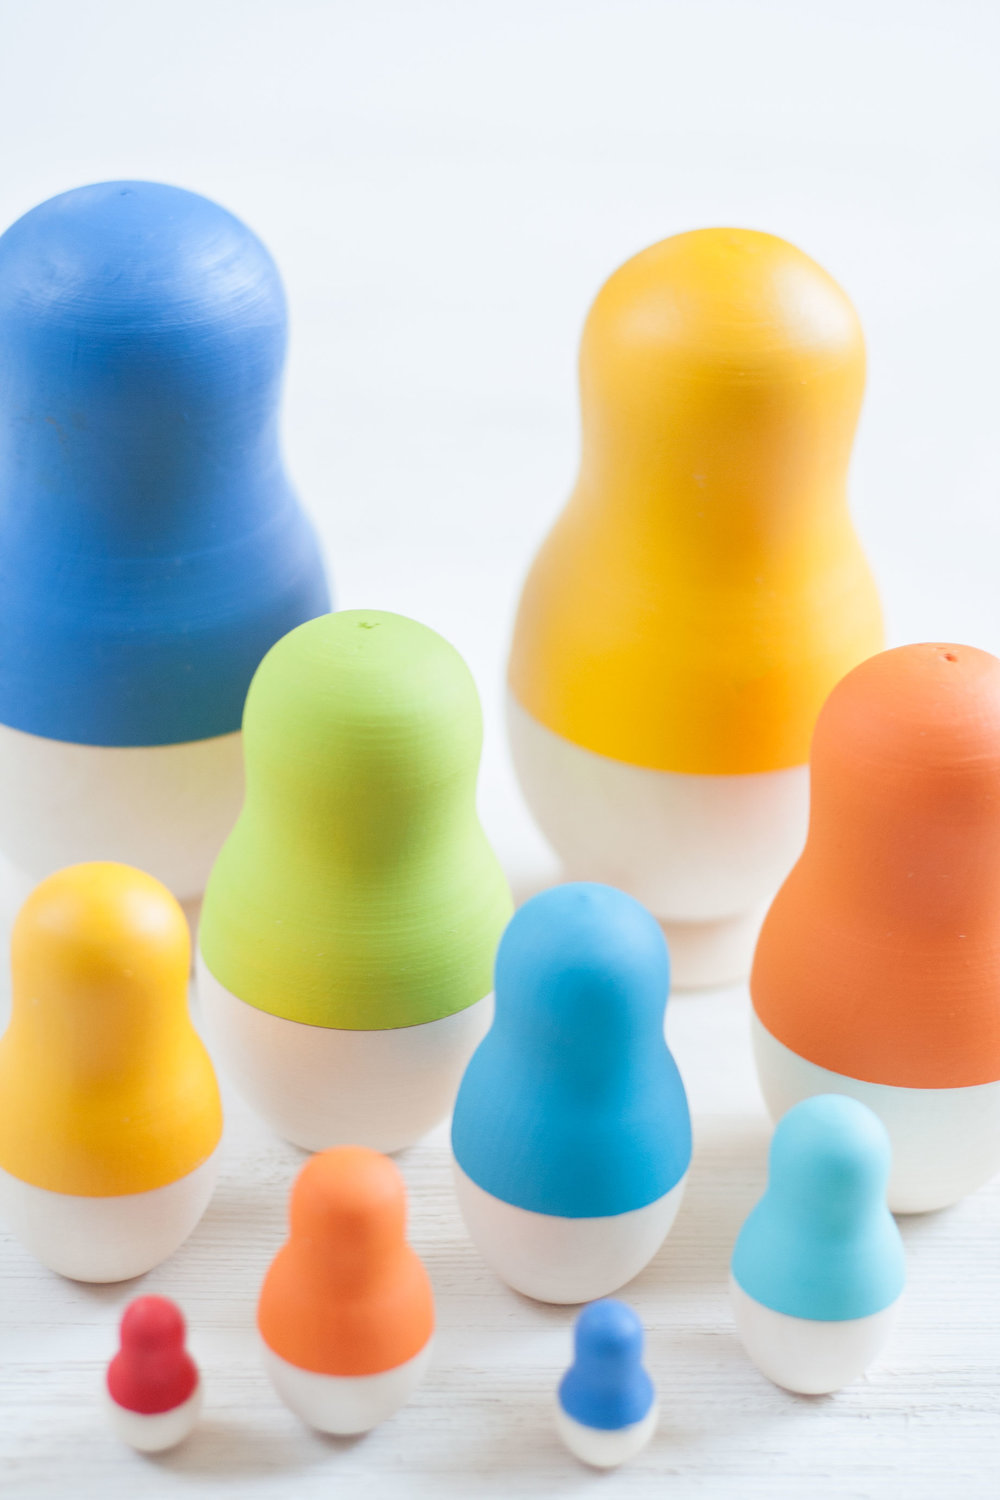
The wooden dolls come in a set of five, and just like the classic Russian nesting dolls, they split apart in the middle to allow you to place the next smallest doll inside.

As for painting the dolls, I recommend you go crazy. Use your favorite colors, paint faces on them, or even draw classy designs like polka dots and stripes. The potential for awesomeness is pretty much unlimited with this project. I kept it simple with just a few coats of paint, because I am a minimalist at heart.
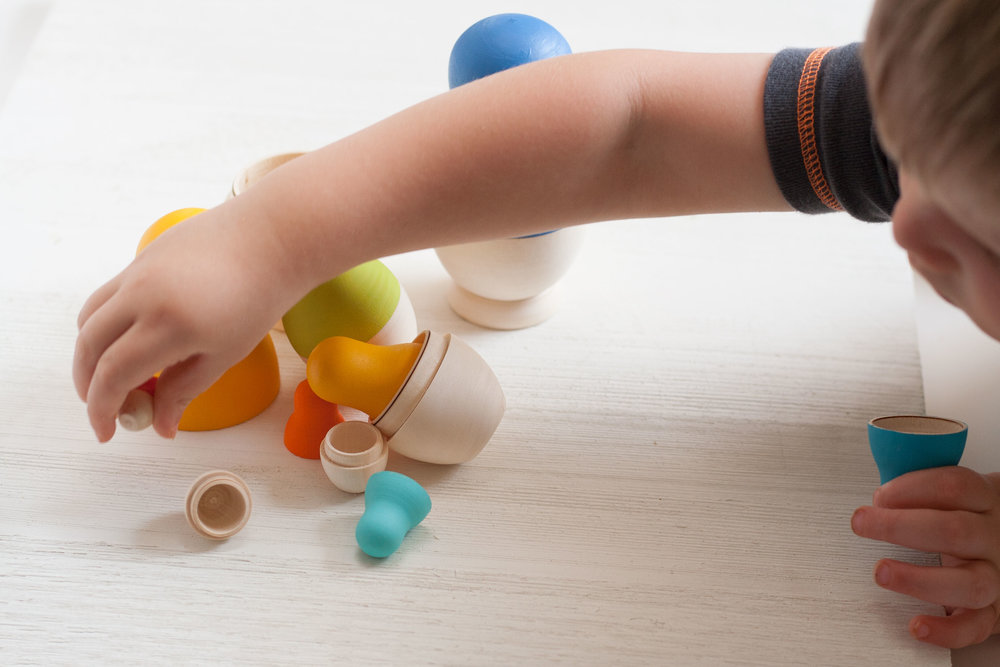
As you can see, these dolls were irresistible to my toddler, who simply could not wait until the photoshoot was over to get his hands on them. At two years old, he absolutely loves opening boxes, bottles, and cases, so these dolls are very exciting for him. Plus, I can review the names of colors with him as focuses on each one.
A word of caution though: if you are planning to use these dolls as toys for your little one, the smallest doll is very small and could present a choking hazard (so use your best judgement).
SUPPLIES:
ACRYLIC PAINTS*
DIRECTIONS:
- Separate dolls, so that top and bottom are apart.
- Apply a thin layer of paint to just the tops (or both tops and bottoms if you wish).
- Allow to dry and then apply a second thin layer of paint and allow to dry.
- Finish with an optional coat of Mod Podge for extra protection if you think you need it.
* These are the paint colors I used: Pollen and Greek Tile by Martha Stewart Crafts; True Red, Bright Orange, Citron Green, Bahama Blue, and Turquoise Blue by DecoArt Americana.
