If you’ve always wanted to give jewelry making a go, this is the perfect project to dip your toes in the water. It requires only a few very basic tools and about an hour to complete the bracelet. This project is simple enough for a child to do, because it essentially only involves stringing beads onto a wire. The finished bracelet is so beautiful, though, no one would guess it was this easy.
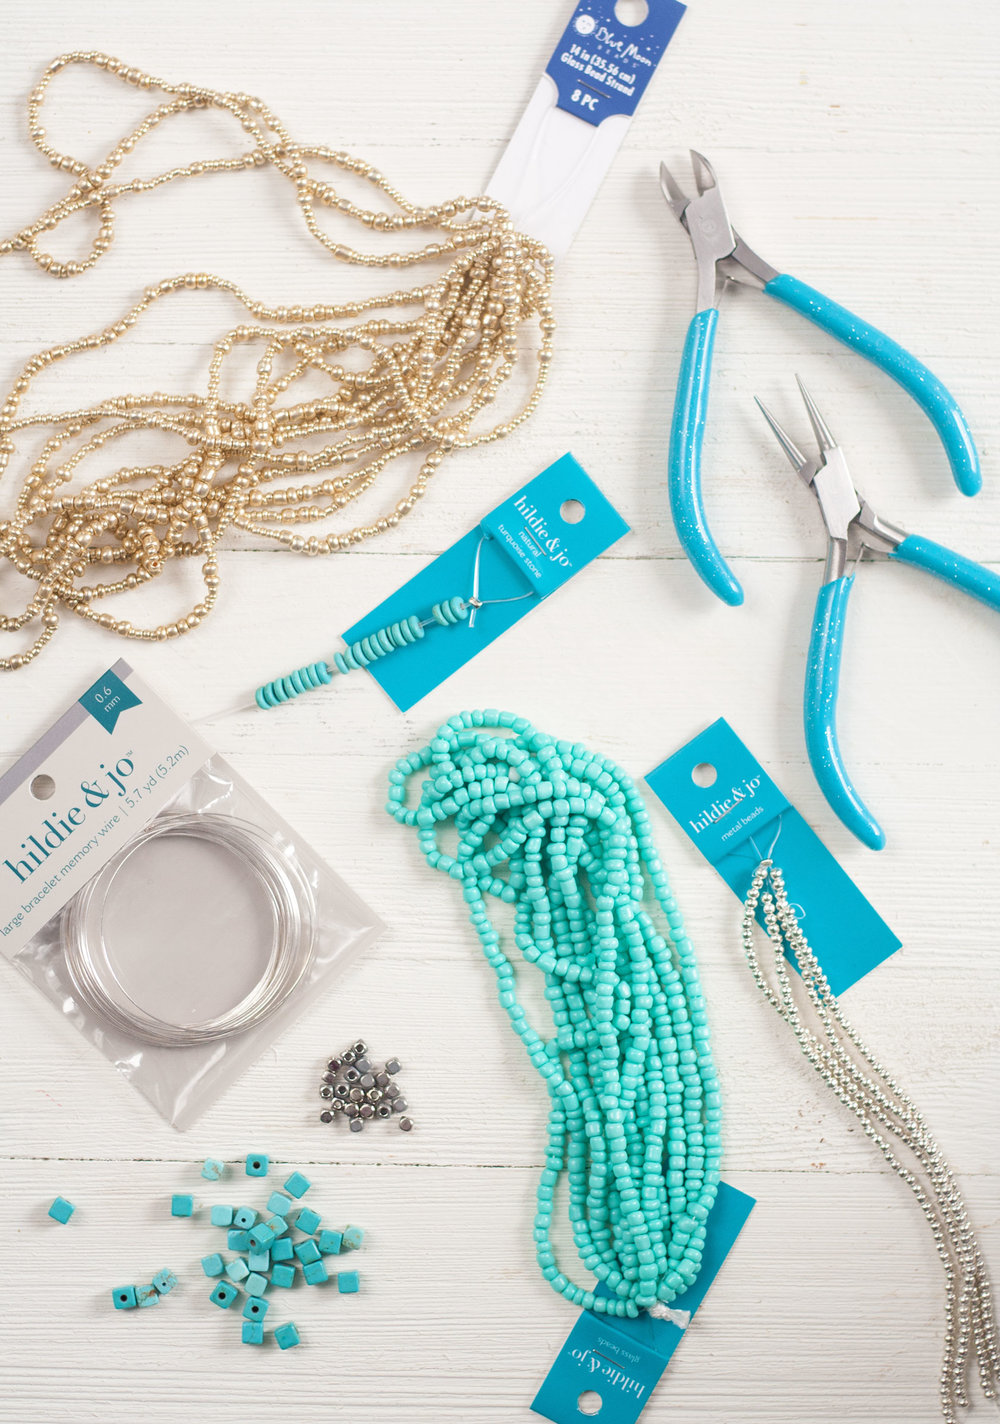
SUPPLIES NEEDED
- ROUND NOSE PLIERS :: Buy them separately or as a kit like I did.
- WIRE CUTTERS :: Buy them separately or as a kit like I did.
- LARGE BRACELET MEMORY WIRE :: One package will generally make 2 or more bracelets. You will need about 5-7 coils per bracelet.
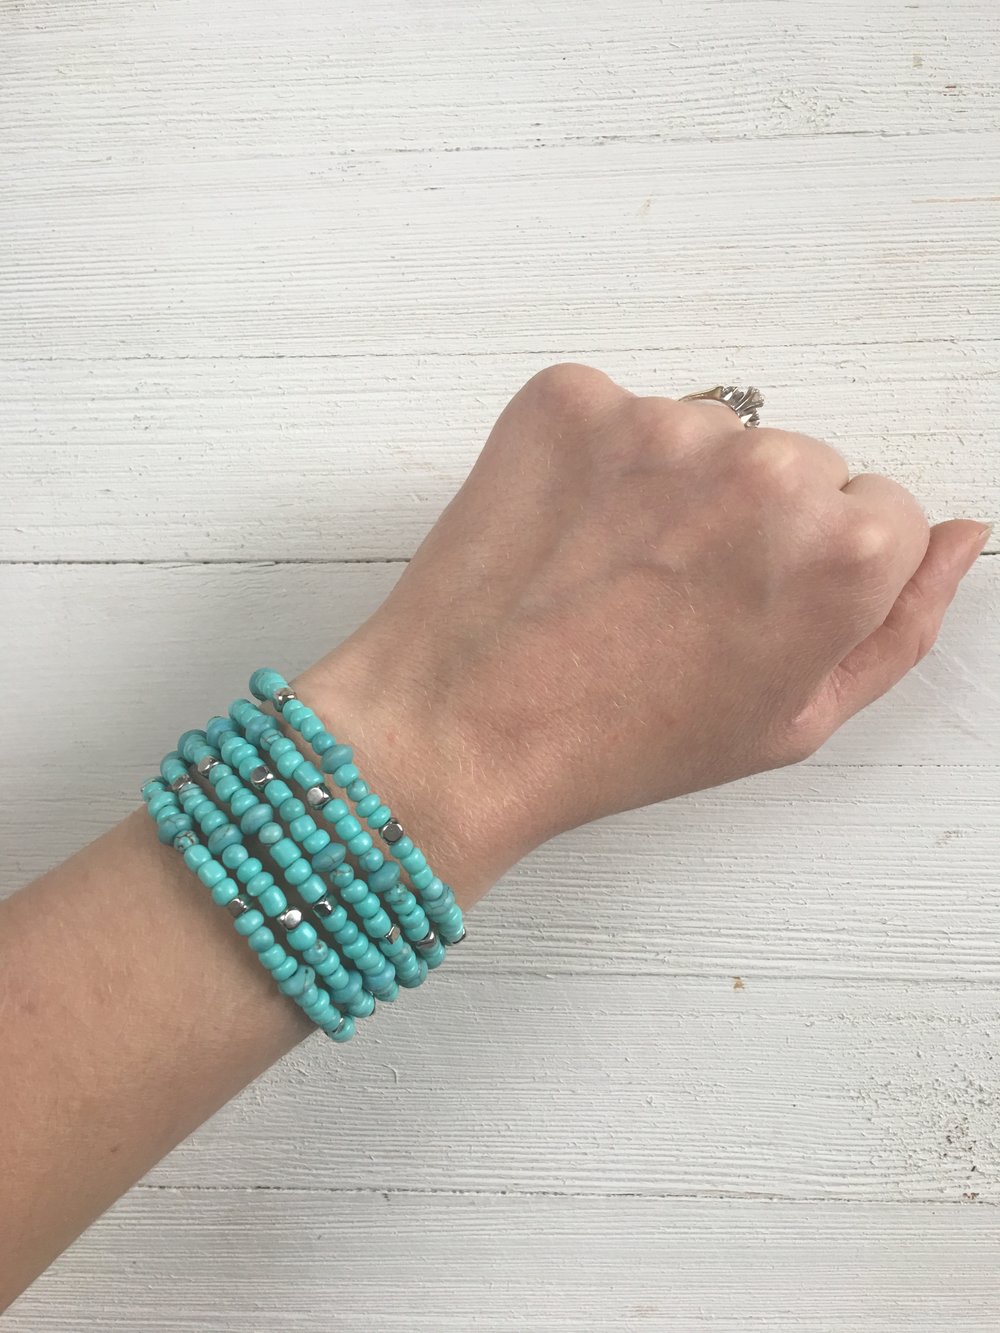
- BEADS :: Get a selection of beads sized from 11/0 (or 2.1 mm) up to size 5/0 (4.5 mm). The bead size I worked with most here, was size 8/0 (or 3.1 mm) seed beads. If you want to do a monochrome look with all one color, you can mix it up by using different sizes and shapes of the same color bead (like the turquoise beads pictured here). Keep in mind, the smaller the bead, the longer it will take to make the bracelet.
I was able to buy all of my supplies at a local crafts store, but depending on where you live, there might be a better selection of jewelry making supplies online.


DIRECTIONS
- SET UP :: On a flat, well lit surface, place a non-terry cloth towel to work on. This will help keep your beads from rolling everywhere.
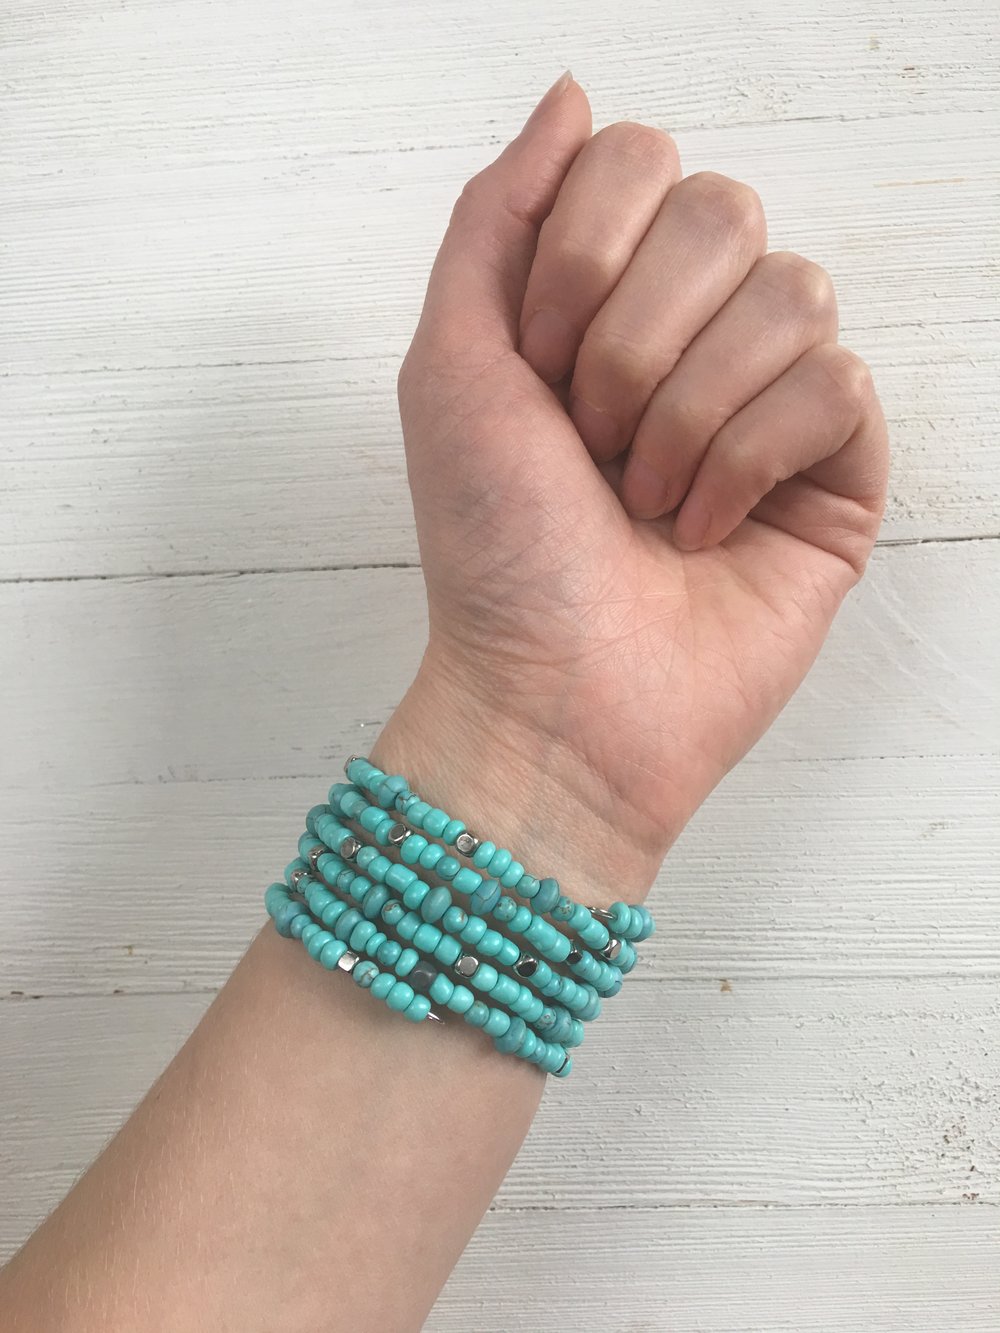
- CHOOSE LENGTH :: Start by wrapping the memory wire coil around your wrist choosing how many coils you would like. I usually do 5 to 7 coils, but you can do more or less if you like!
- CUT WIRE :: Once you have your number of coils wrapped, use your wire cutters to snip the wire on the underside of the wrist (about even with where the other loose end starts).
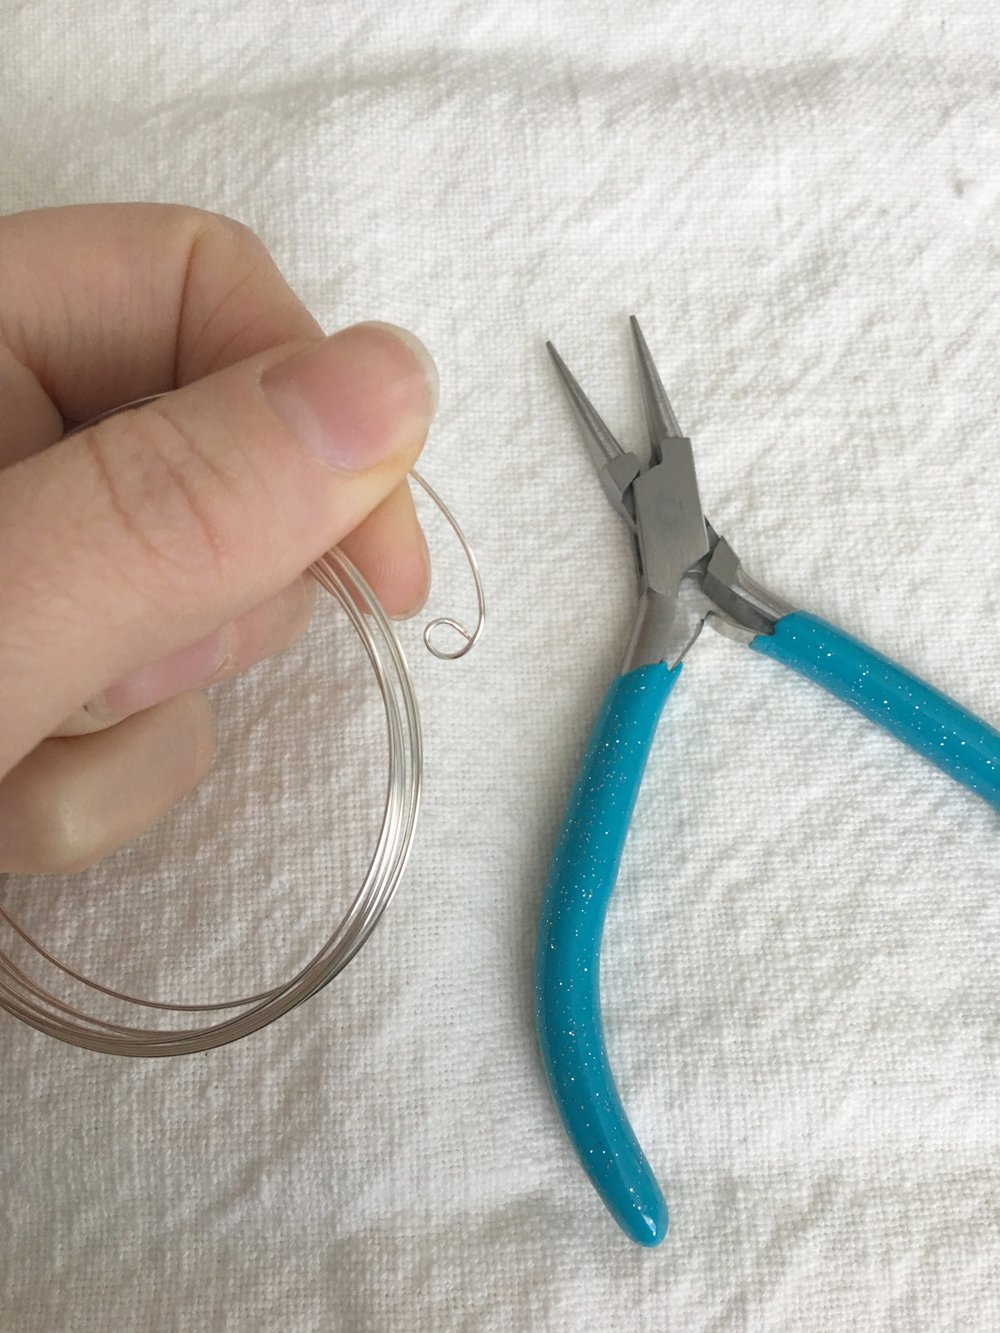
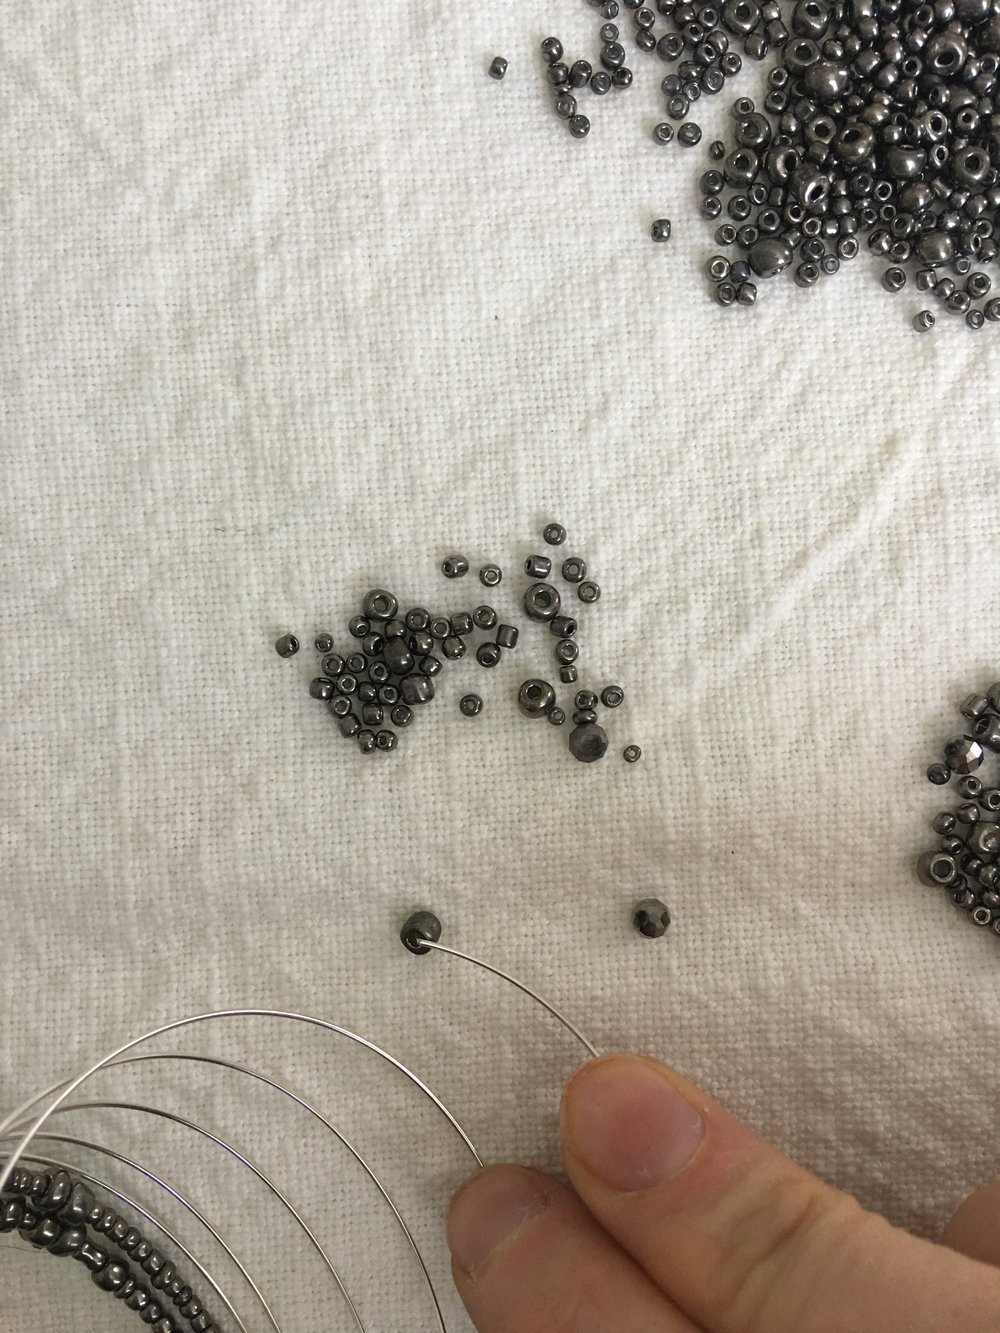
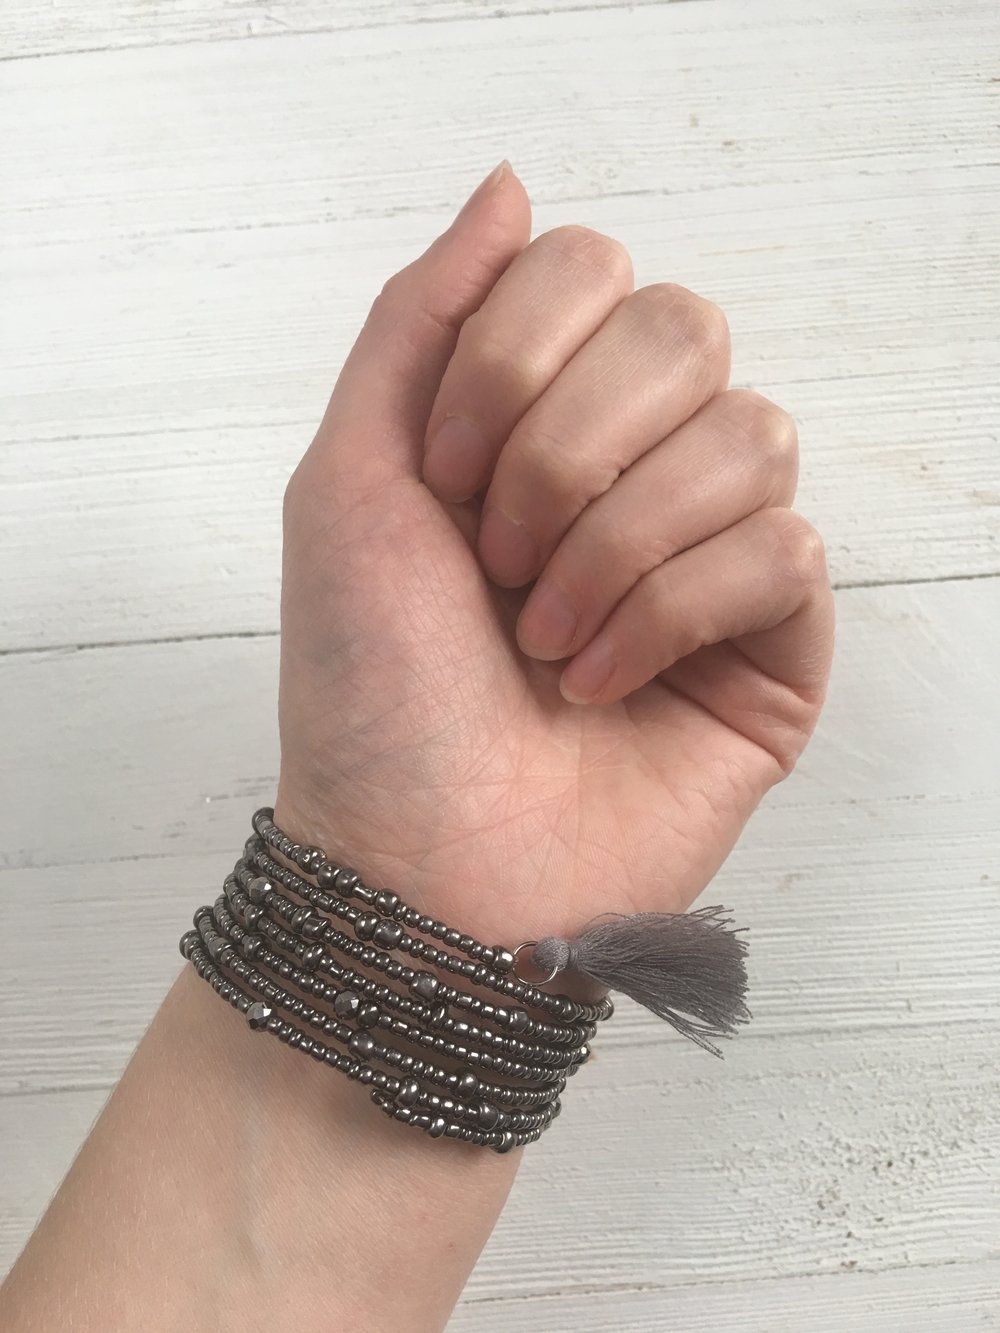
- MAKE A LOOP :: Now, remove the coils from your wrist and using the pliers, grab one end of the wire about half way down the shaft of the plier and roll it in to make a loop. The loops, as seen in the two top pictures above, keep the beads on the bracelet.
- STRING BEADS :: Let the beading begin! You can line your beads up on the towel first to help decide on a pattern. To get the beads on the wire, you can place them individually with your fingers, or you can pierce the hole of a bead that is lying down and scoop it up. For small beads, it is easier to prod the bead with the wire with an ever so slight motion of pulling back (not up), while pushing into the bead. The bead should slip onto the wire and then you need to pull it back further with your finger.
- SLIDE THE BEADS DOWN :: To help things along, stretch out the coils like a slinky, to help the beads get to the bottom faster.
- MAKE ANOTHER LOOP :: Once you have completed your beading, simply make another loop just like the first one. You can even fasten a charm onto the loop by using a jump ring.


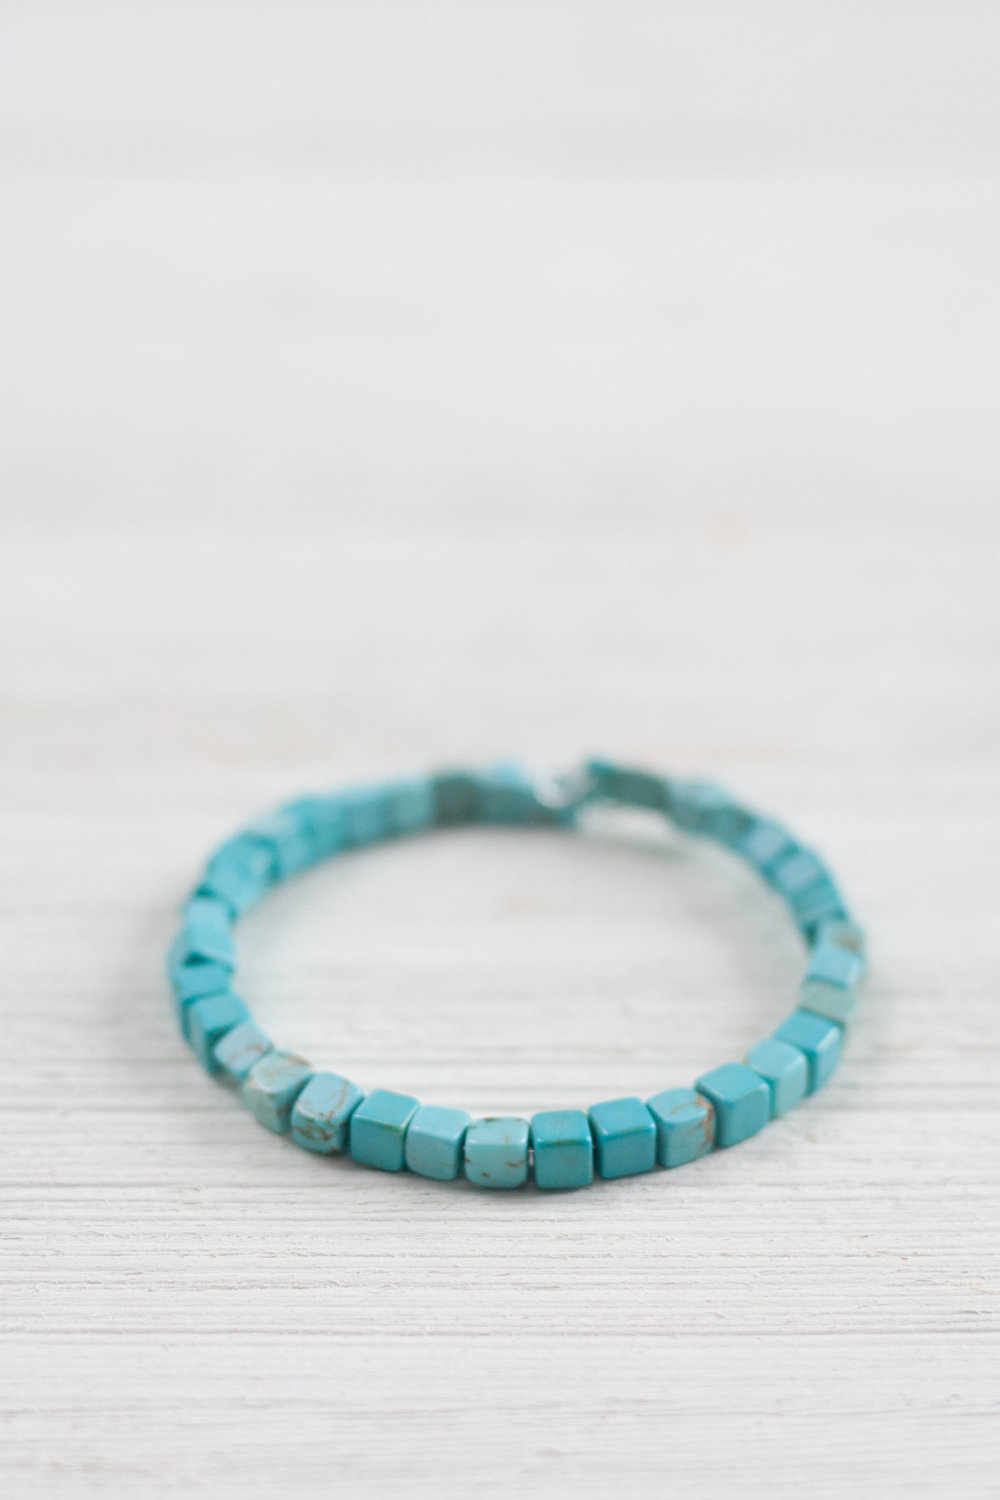
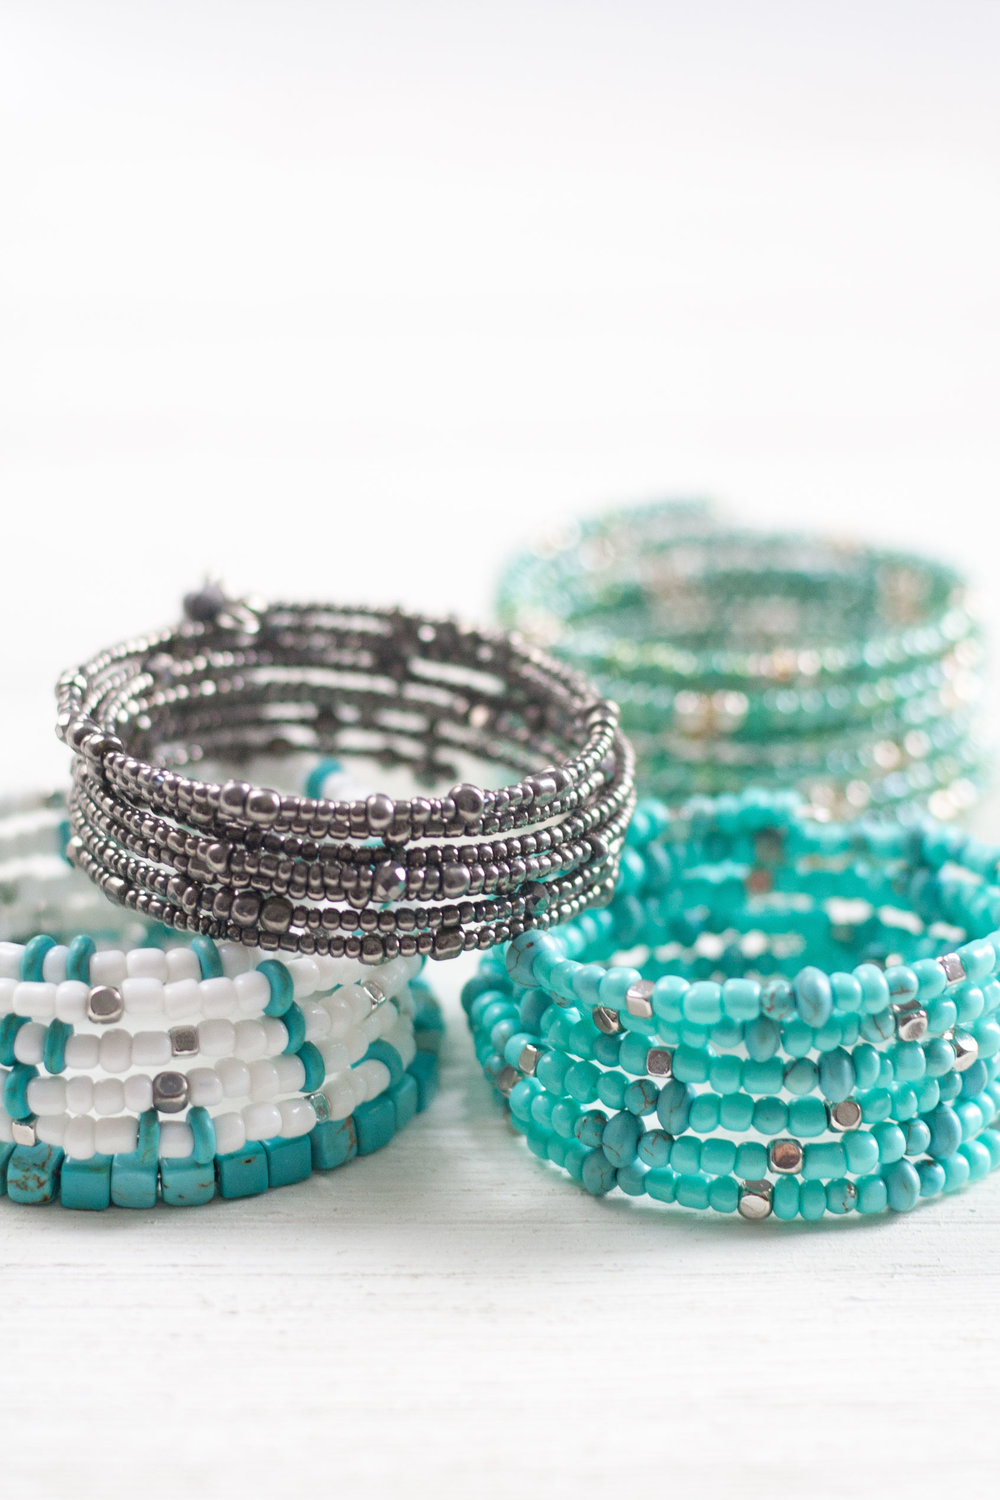
There’s no rule that says you can’t do less than 5 coils. Here, I made a single coil bracelet, which is great for layering.
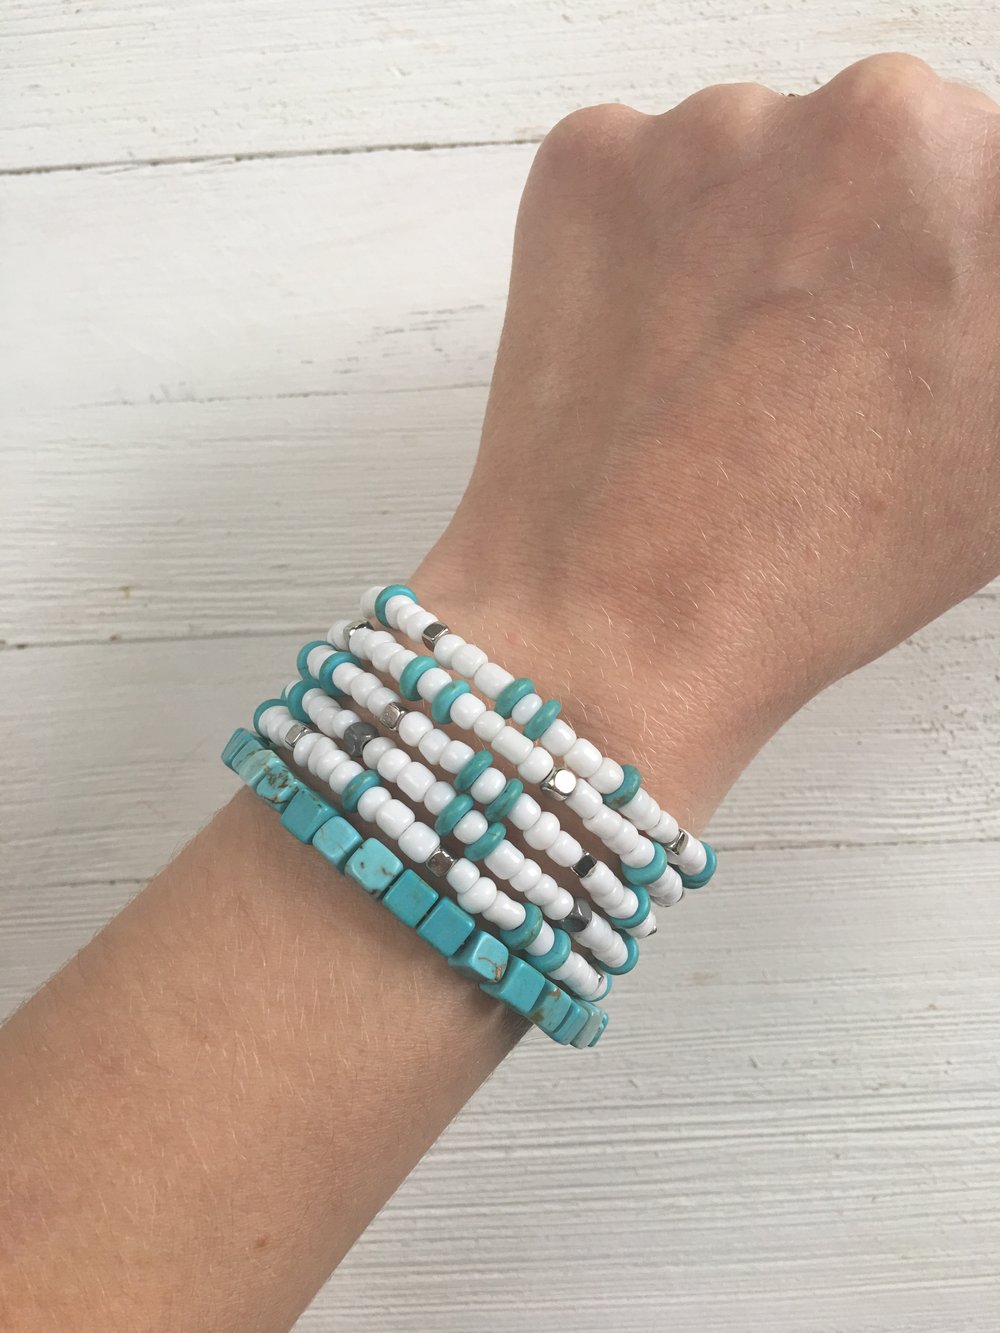
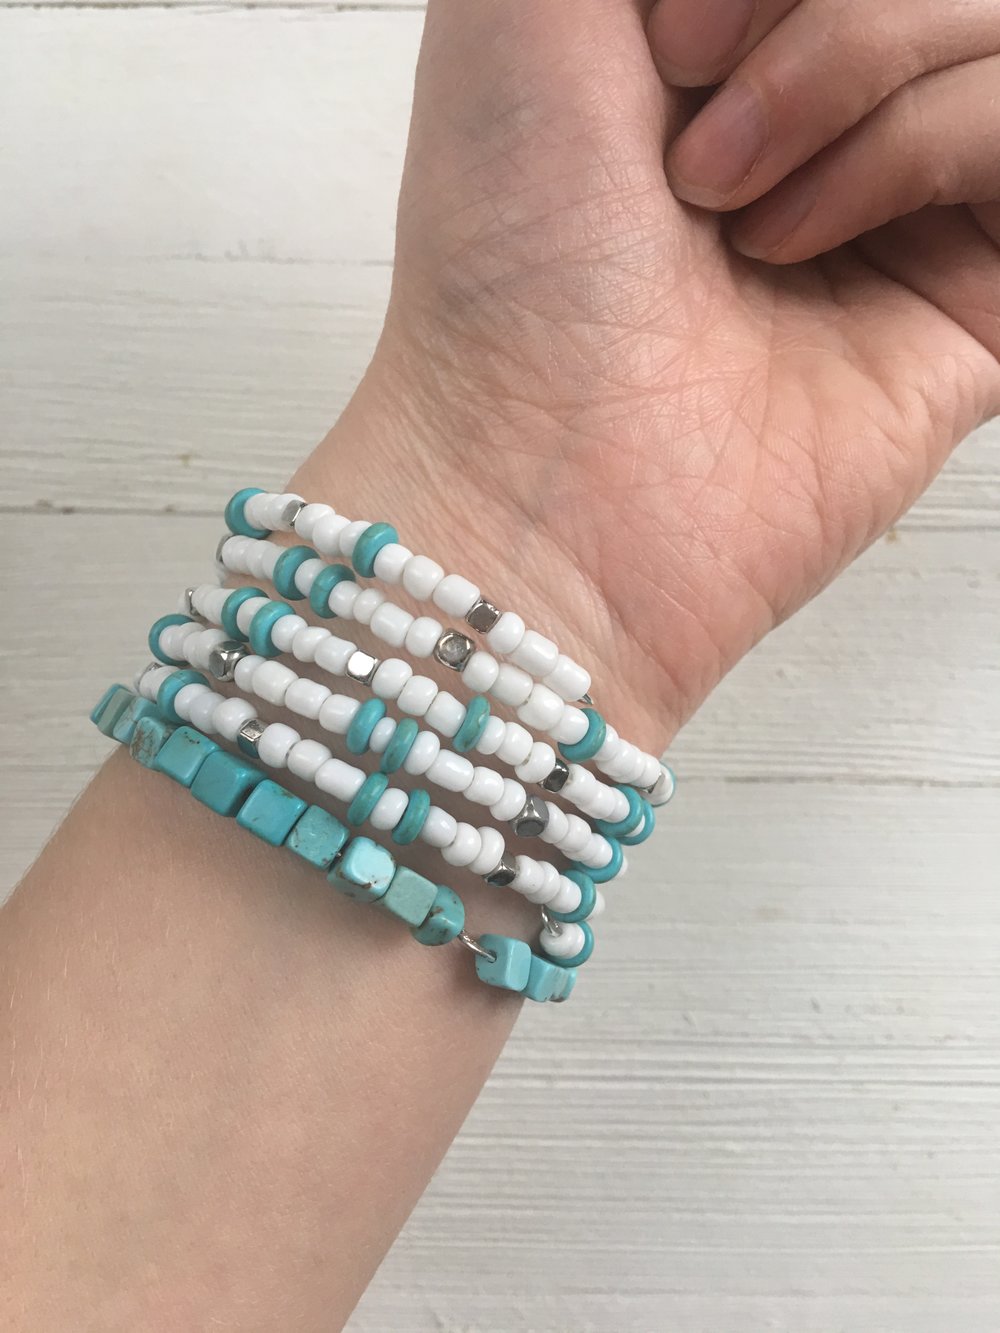

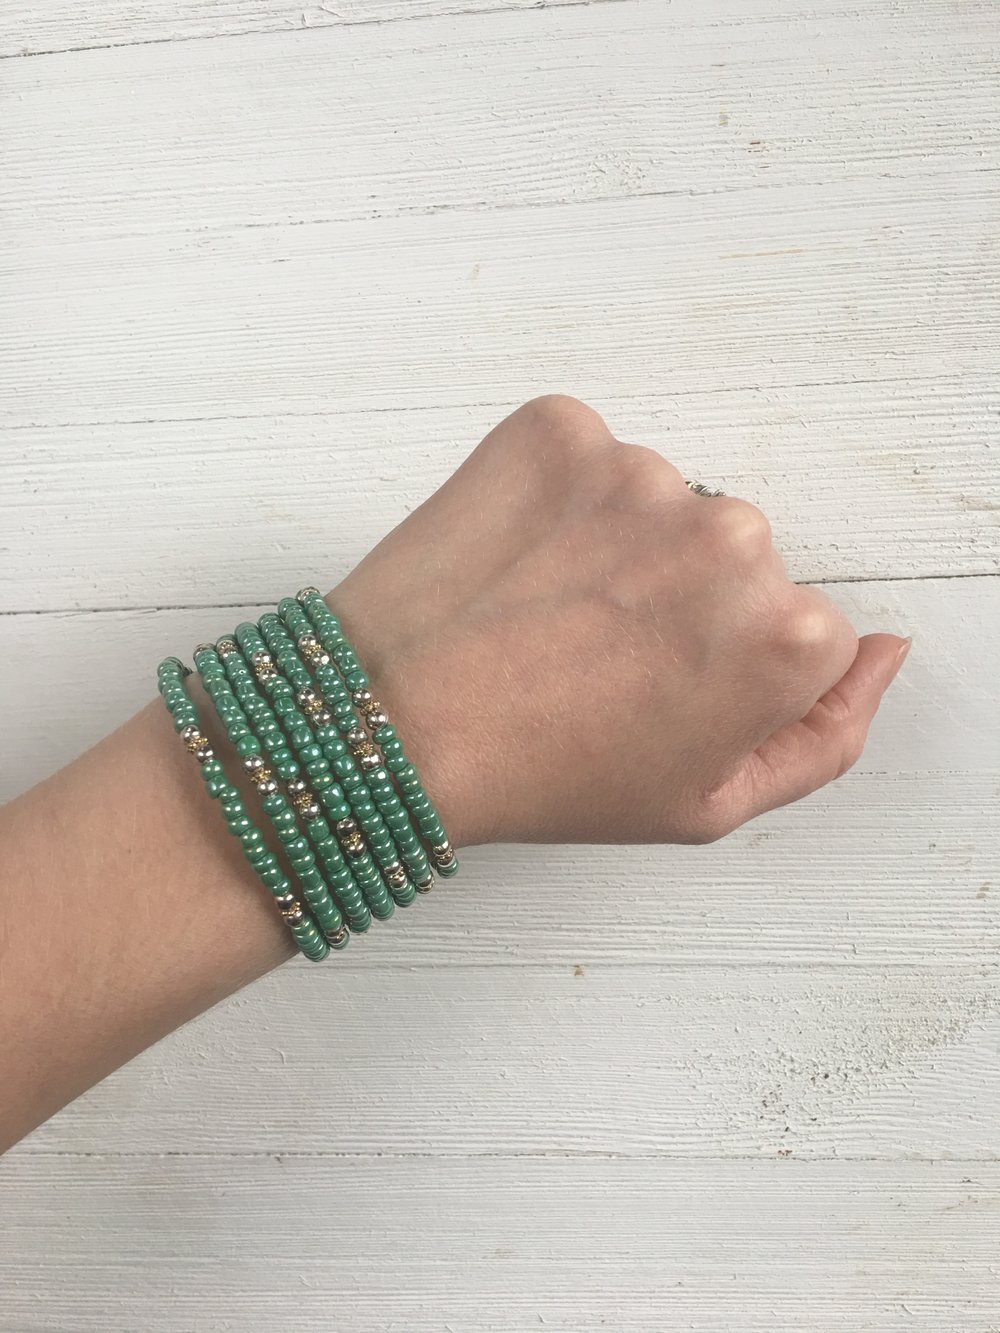
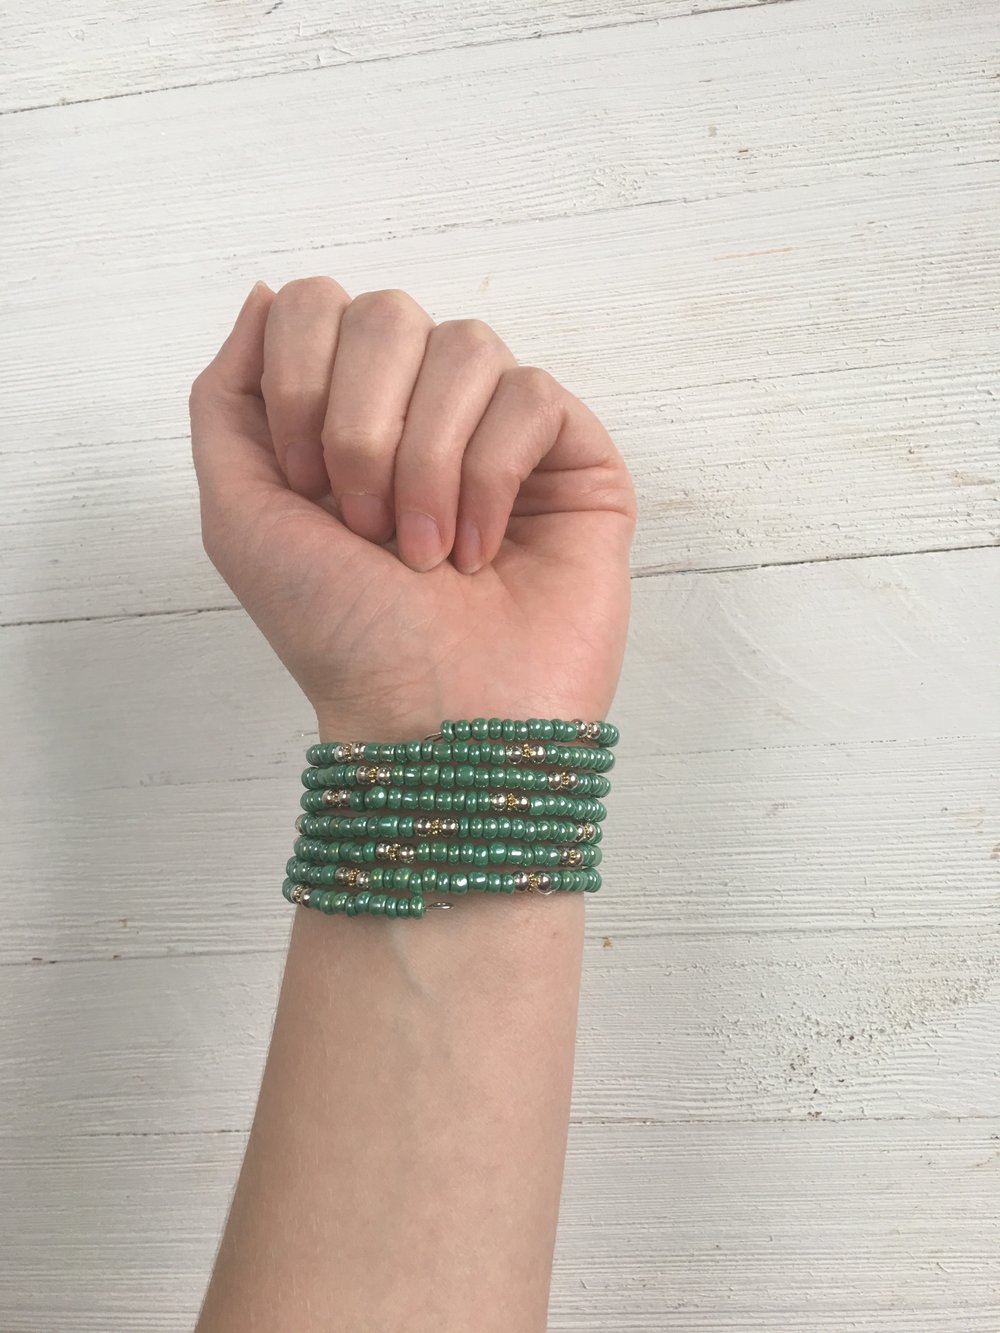
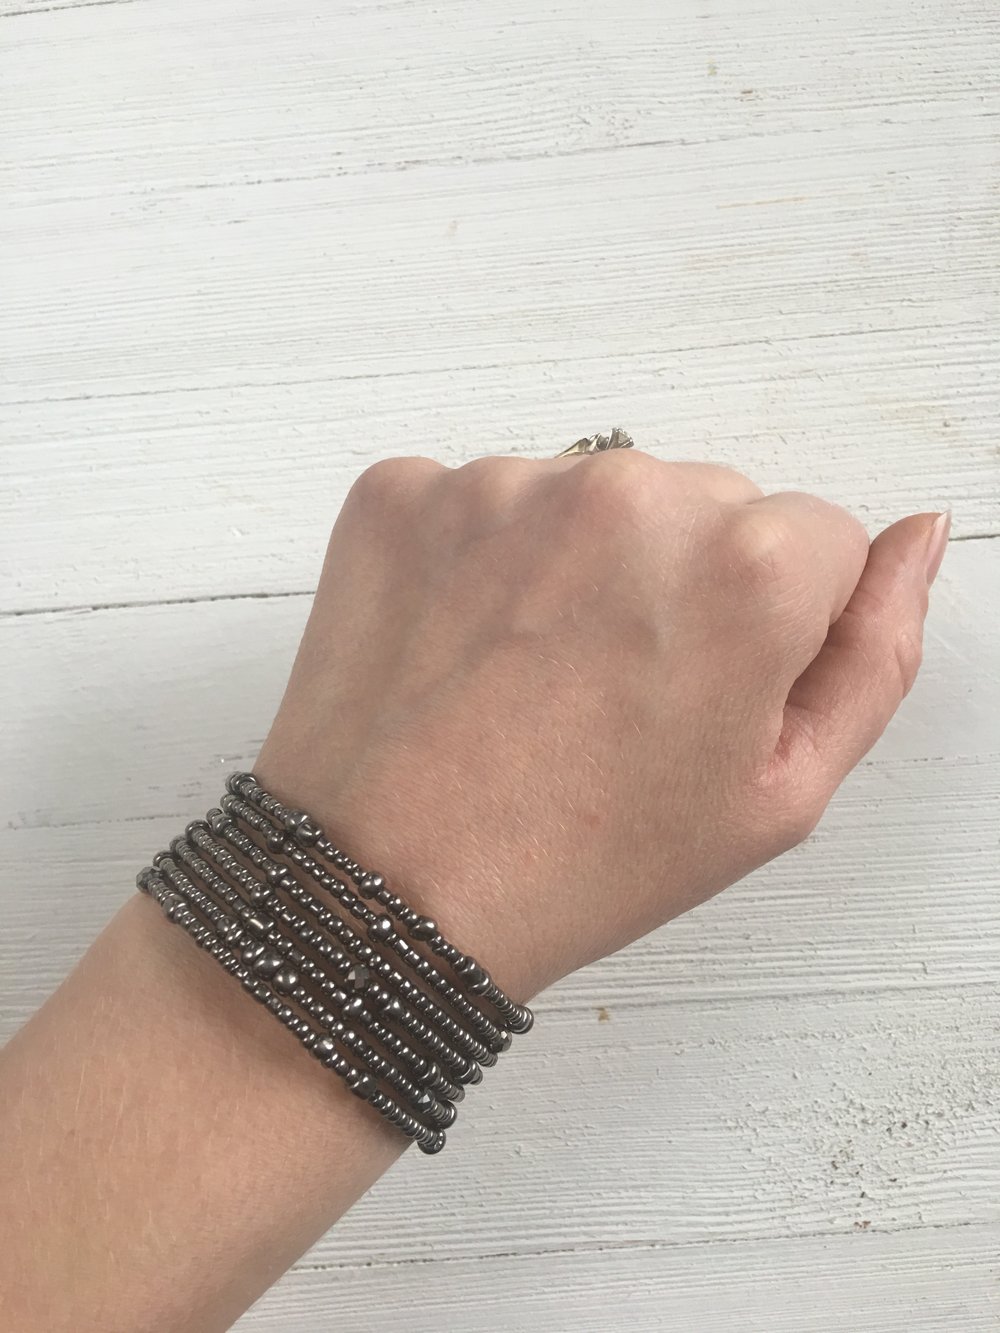
What I love most about these bracelets are that they are so easy to wear. They don’t jingle and jangle around. Rather they hug your wrist snugly. The coil makes it a one-size-fits-all bracelet, making it perfect for gift-giving. And, of course, the design possibilities are endless! Besides doing patterns like I did here, you could go with a solid bracelet, or even do stripes with each row having a different bead.

This post contains affiliate links. If you are interested in any of these items and use my link to make a purchase, I will receive a small commission at no cost to you. Thank you for your support!